Leaderboard


Popular Content
Showing content with the highest reputation on 01/06/26 in all areas
-
Hey there! For advanced uses you can set up the UPS functionality within trueness if you have a supported UPS (which is most modern - be with USB or network connected). While it is slightly more technical, can be done and it's not too hard. You can also setup Peanut which will interface with Nut in truenas and give you a nice GUI.2 points
-
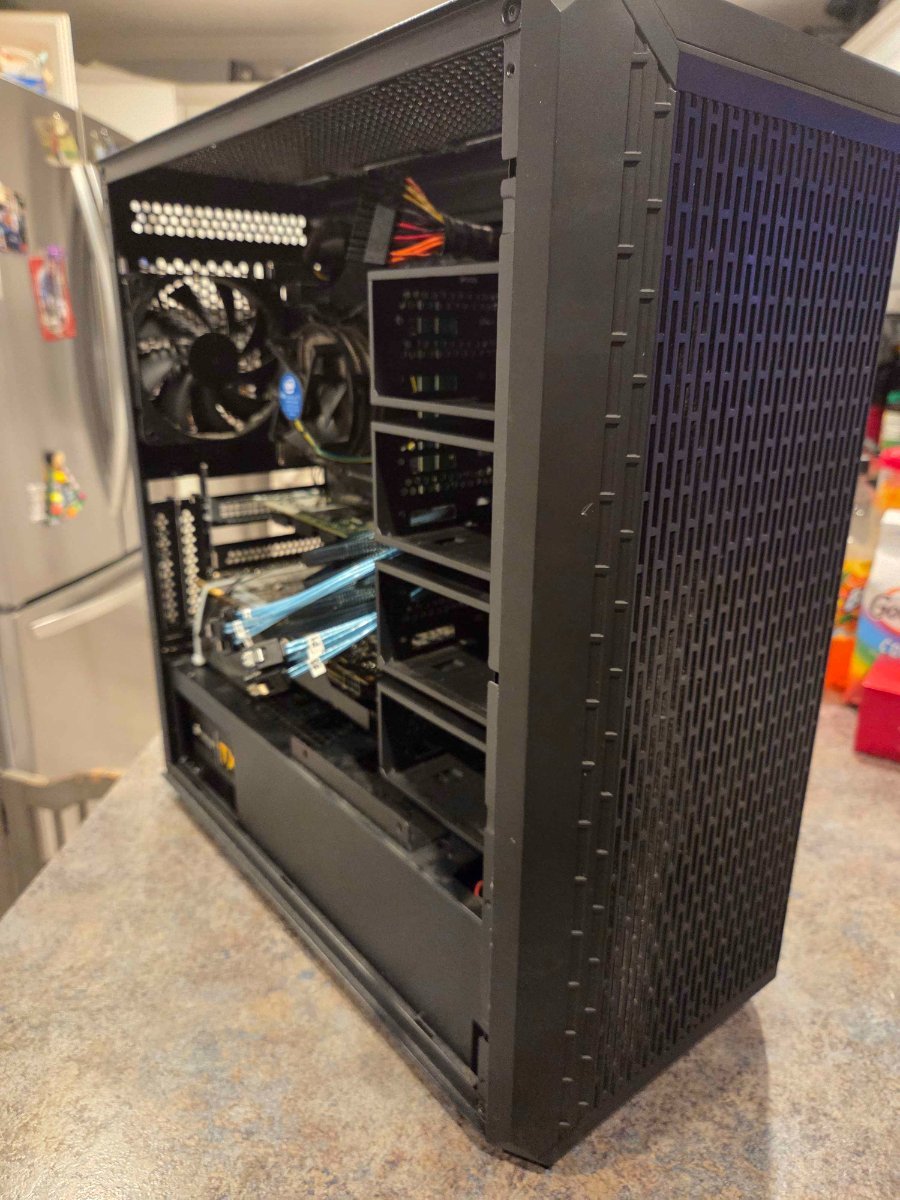
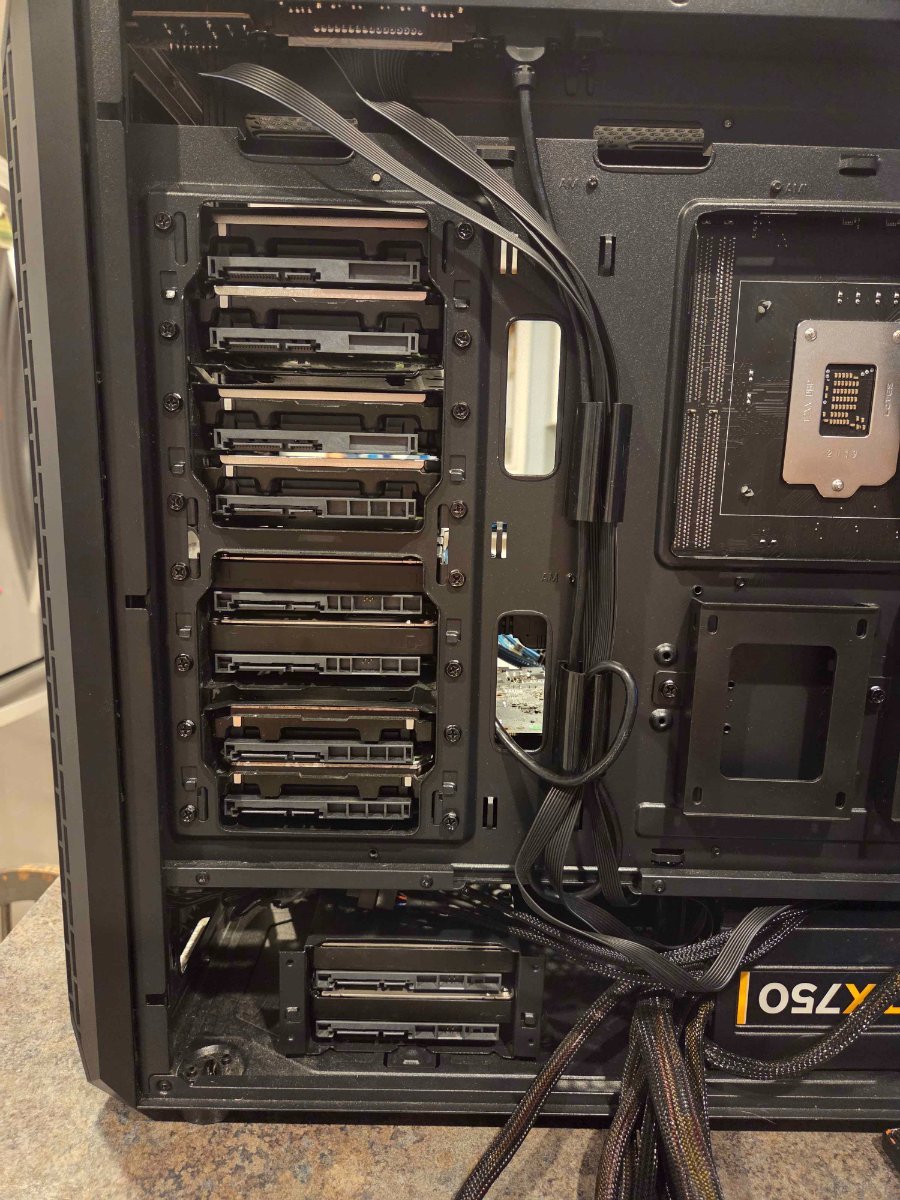
So after some digging, poking and planning I have NAS 2.0. Unlike my first nas that was built off of pure storage round 2 is planned on the fact that I have found a better way for my use case to use hexos. So moving to a newer cpu platform will give me more horsepower down the road swapping from a i3 8350k to an i7 10700. Moving to storage I will have 3 128g ssd as pool 1 for all my apps and vms. Next to that is 4 12tb drives that will be the main pool for storage. Setting up the next 6 8tb drives will be my once a month storage point "the drives will be spun down when not in use". As far as my old setup it will be getting 15 8tb hdds and will be colocated for in case things happen at home storage.
 1 point
 -
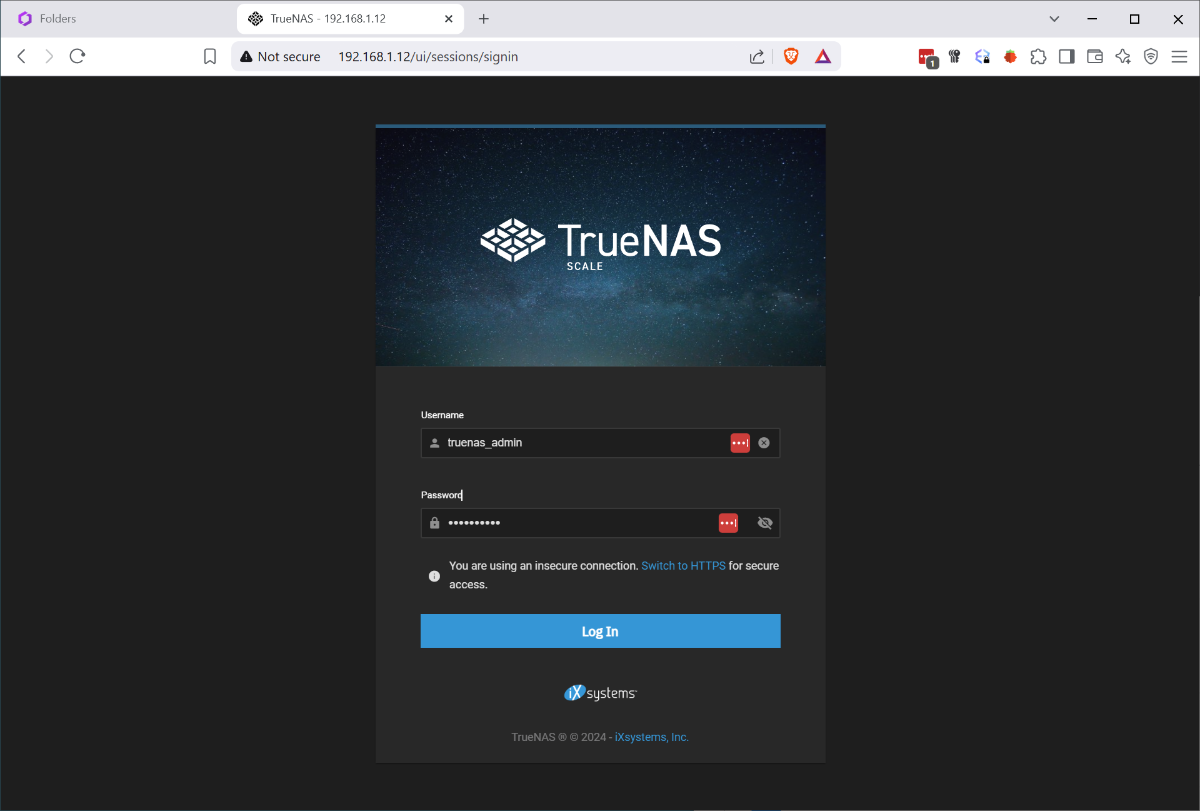
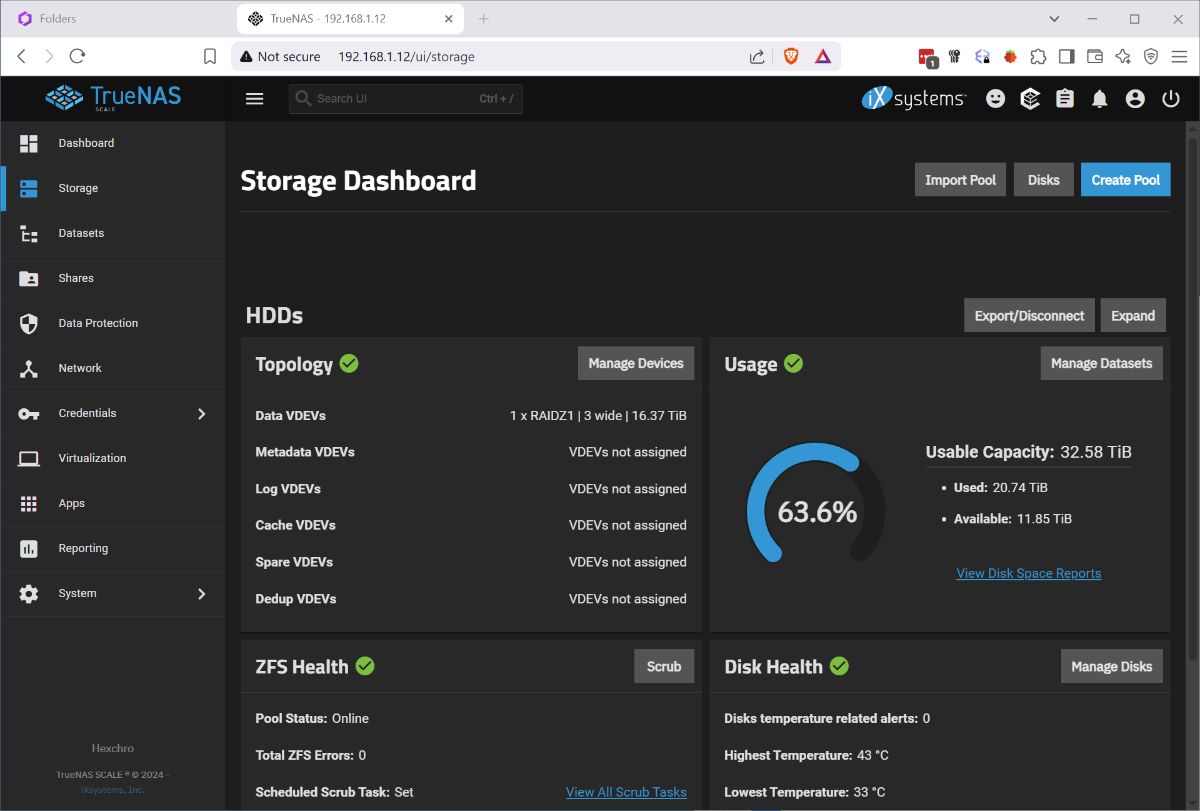
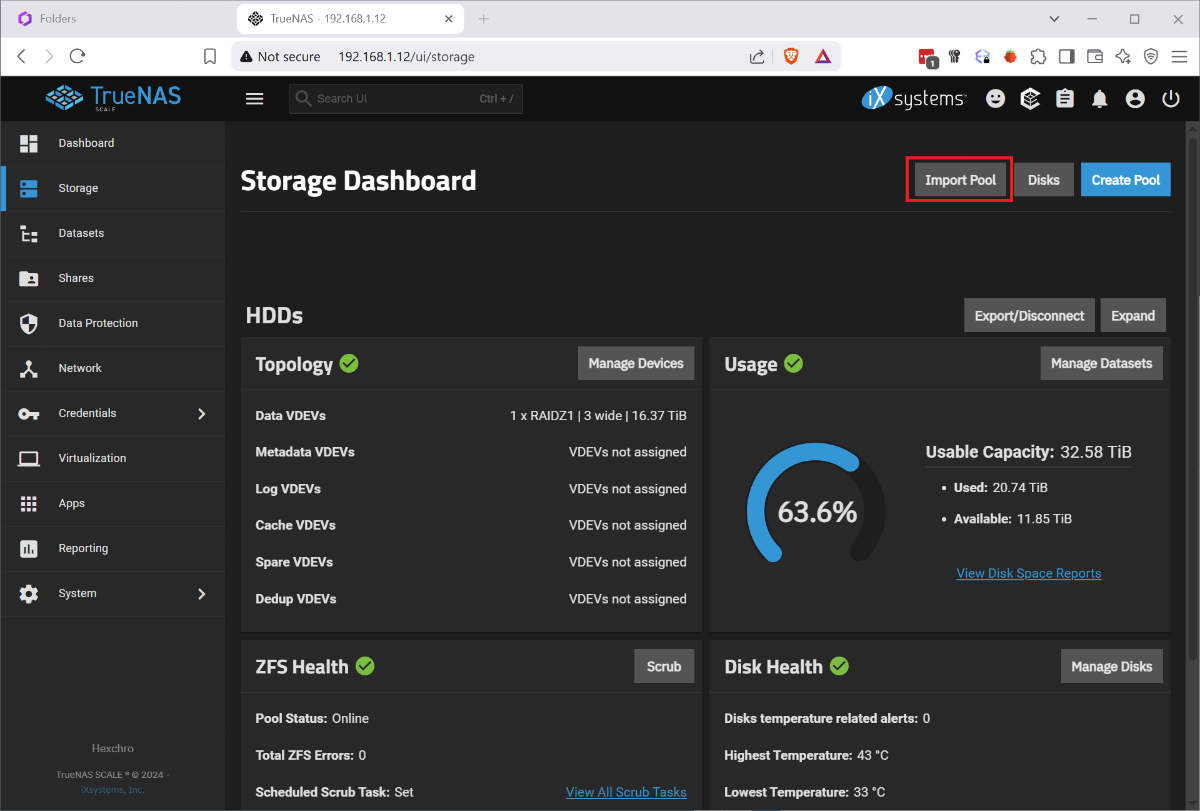
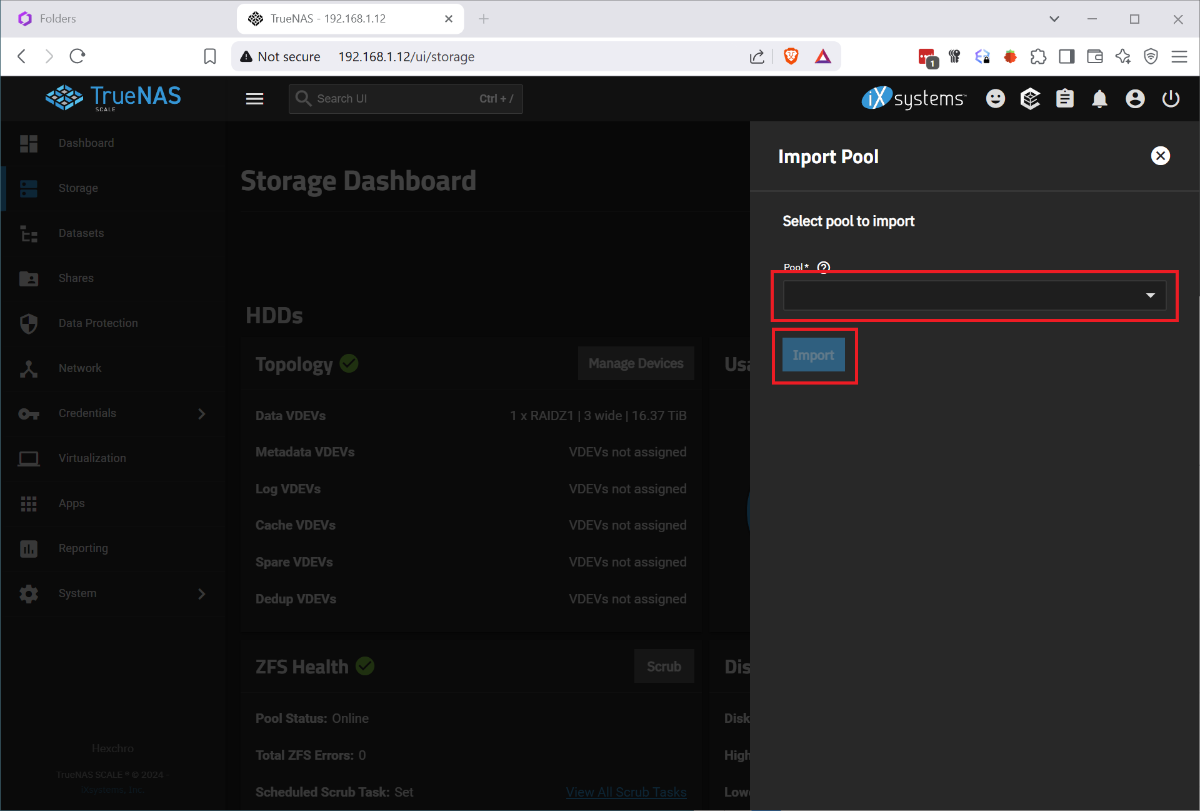
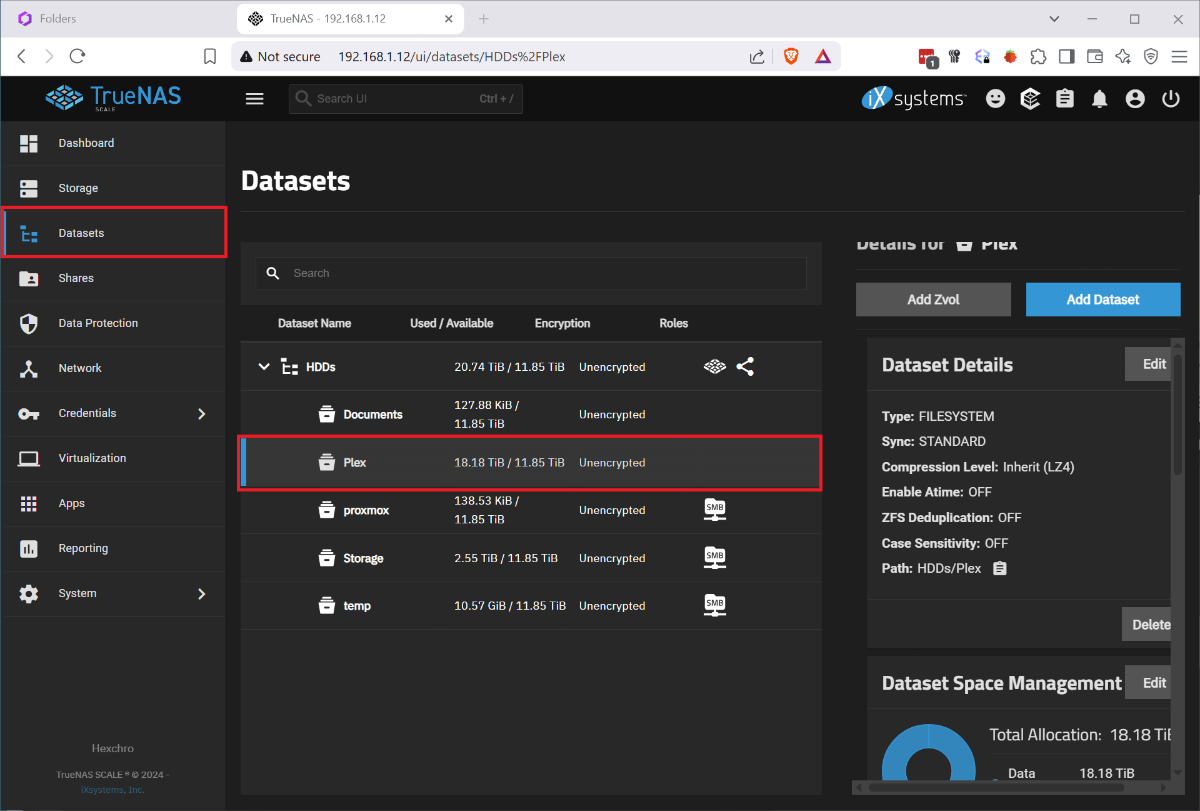
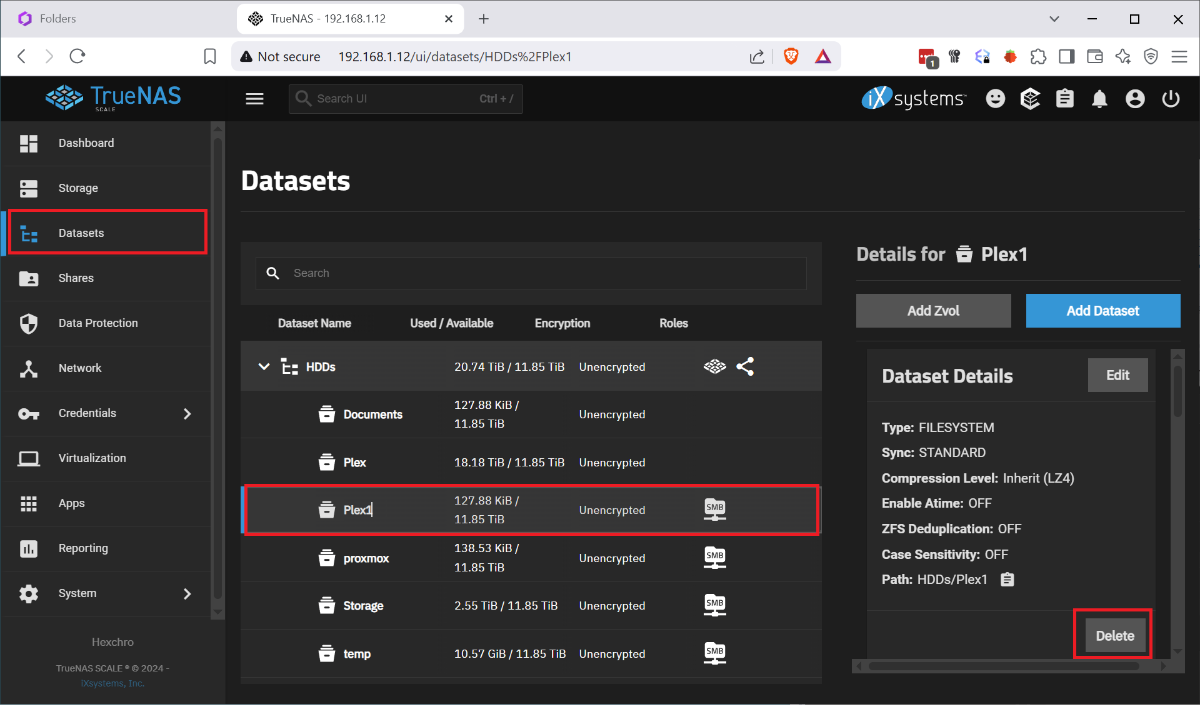
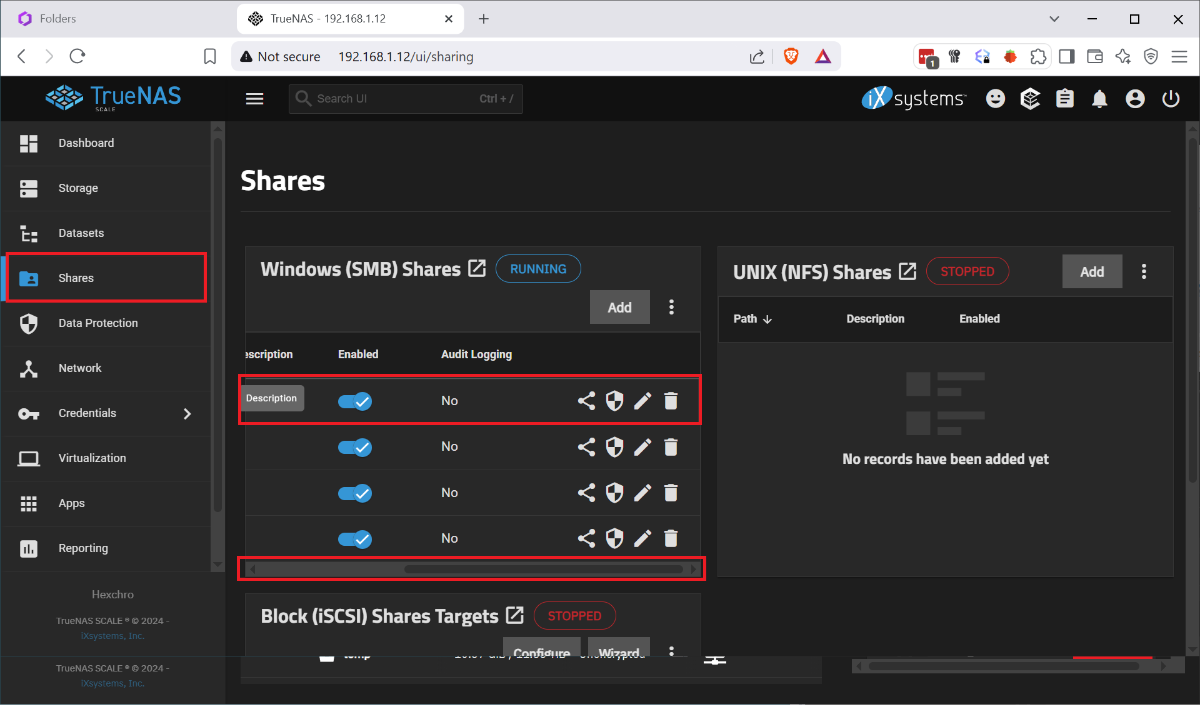
I ran into the issue that my boot drive was corrupted and I had to restore my HexOS install from scratch. I found posts that said basically just reinstall it but nothing that explained the process. I had several issues, when I reinstalled HexOS it wanted to wipe my raid, once i disconnected the raid and went through the initial setup, I had no shares. So I wanted to document this so that others with this issue find a solution instead trying to rename and recreate shares and move data between datasets. This was done after I figured out a process for doing this so sorry if I missed any steps. Step 1. Remove the bad boot drive. Step 2: Disconnect the Raid drives. Step 3: Install your new boot drive and usb HexOS install media. Step 4: Follow the standard install process, including setting your admin account and claiming your server. When you finish the setup you will not have any disks so you will name your server and just continue. Step 5: Shutdown the system. Step 6: Reconnect your raid drives and boot up. Step 7: Log in to the TrueNAS gui by going to the IP address of your server in the browser and using the credentials you set up during install Username: truenas_admin Password: <whatever you entered at install>. Step 8: Go to Storage Tab and select Import Pool. 9: Select your pool from the drop down it should be named 'HDDs' and select Import. It will take a few minutes to import and complete. At this point the storage should be detected in HexOS and you should be able to start creating shares, but your existing folders and shares will not have returned. To get your shares back you must recreate them by renaming your datasets and naming them back as follows: Step 1: Under Datasets you can find all of your existing data on the RAID. Find the Dataset you want to restore in HEXOS and note the name. Step 2: Back in HexOS go to the Folder tab and select 'New Folder' Note: you may want to recreate your old users manually or create your folders with public access and recreate the users and add permissions later. Step 3: Create a new folder with the same name as the Dataset but add a 1 (In this case 'Plex1'). Make sure to keep the array the same 'HDDs; and give it the permissions you want (this can be adjusted later). Step 4: Back in TrueNAS go to Shares and select the edit button on the 'Plex1' share, depending on screen resolution you may need to scroll the horizontal scroll bar to the right. Step 5: In the side bar remove the '1' from the Path or use the drop down to select the original shared folder, then click into the Name field which should auto update and remove the 1. Step 6 Scroll down and click 'Save' and you will be prompted to restart the SMB service, do this and your share should be updated. Step 7: Navigate to the dataset tab select the 'Plex1' dataset and click delete on the right side. It will make you confirm by typing the whole dataset path. Step 8: When this is done you should be able to refresh the folders tab on the HexOS page and see the updated folder name (it took a minute to refresh for me). Redo this for each share that you wish to recreate. Once I did this and set up the users and permissions correctly, other servers I used to connect to my shares started working seamlessly. I didn't experience this but I can imagine you may run into some permissions issues since the new users in HexOS could have different IDs than before. Unfortunately you would need to manually adjust permissions on the files and folders. P.S. I imagine minutes after posting this someone will tell me I am dumb and should have done it this way, or someone else posted better over here. If that's the case let me know and Ill point to a better example, but when I needed help I couldn't find it.
1 point