Leaderboard


Popular Content
Showing content with the highest reputation on 01/08/25 in all areas
-
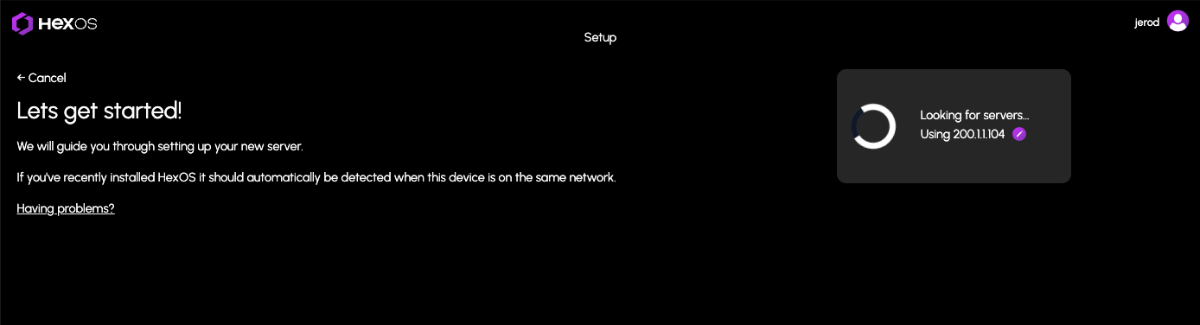
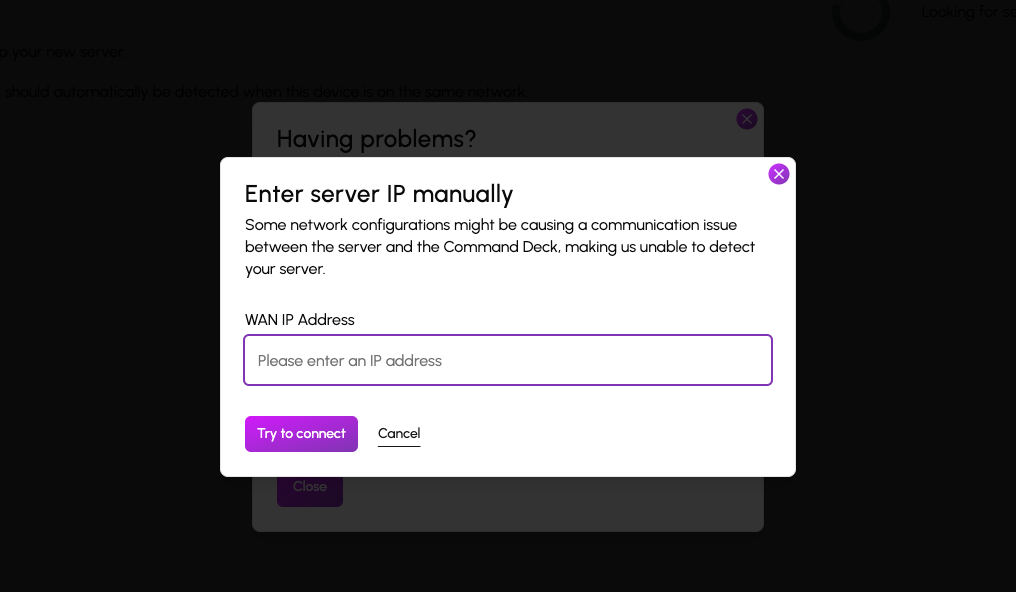
Command Deck Update Notification (01/08/2025) We are releasing an update today. You will automatically receive these changes on your next visit to the Command Deck. For users who are actively connected, please note there may be a brief downtime of minute or two. This update includes an important feature for users who have previously encountered issues claiming their HexOS server due to certain network configurations. These configurations caused communication problems between the server and the Command Deck, preventing automatic server detection after installation due to an IP mismatch. Manual WAN IP Specification You can now manually specify the WAN IP address to assist in the server discovery process when claiming your server. Additionally, we’ve made several minor improvements, including: Additional confirmations for destructive actions to help avoid accidental operations Improved grammar and spelling throughout Clearer instructions for accessing the TrueNAS UI from Settings Better logging to help dev/user experience If you encounter any issues, try clearing your cache first to be sure you are using the latest version: Instructions for clearing your cache
 4 points
 -
Hi there, There is nothing you need to do to receive the update. We've updated the command deck and you automatically receive the latest by logging in. In the future, we will have full OS updates that require a download to your local server, but we haven't reached that point yet. When we do, we'll add an update mechanism to the settings page.3 points
-
Just got TailScale up and running and I am really impressed! None of the concepts were tough to figure out but I'm interested in hearing your use-cases and experiences. Where does it really shine? What sucked about that time you tried to do "x" and it failed miserably? I'm already thinking about using this at work...I see so much potential.1 point
-
Cool! I’m not ready quite yet to install HexOS on my main system (I tried), but I have a license and will follow your development closely for the day when it will make since for me to jump ship from UnRaid1 point
-
This is our first update yes. Doubt we will have another this week unless it’s a hotfix.1 point
-
No, VPNs are generally considered one of the, if not the safest option to connect to your self hosted stuff. The Deck website will stay available in the future, the local deck will be added as an alternative and not as a replacement to the existing website.1 point
-
It's just a matter of perspective. Without going into truenas there is only Plex and immich at this time.1 point
-
heck yeah looking good, it is builds like this that prove you dont need fancy hardware1 point
-
I had to do it through TrueNAS and it was pretty easy. https://www.truenas.com/docs/core/13.0/coretutorials/systemconfiguration/mirroringthebootpool/1 point
-
There was a fair bit of pushback early on but a lot of us have decided to just bite the bullet. one thing to note is that there is a 30 day refund policy if you don't like it. If you wanna take advantage of that i would suggest waiting for at least beta 2 since there isn't much we can do with beta 11 point
-
Nope it is here forever1 point
-
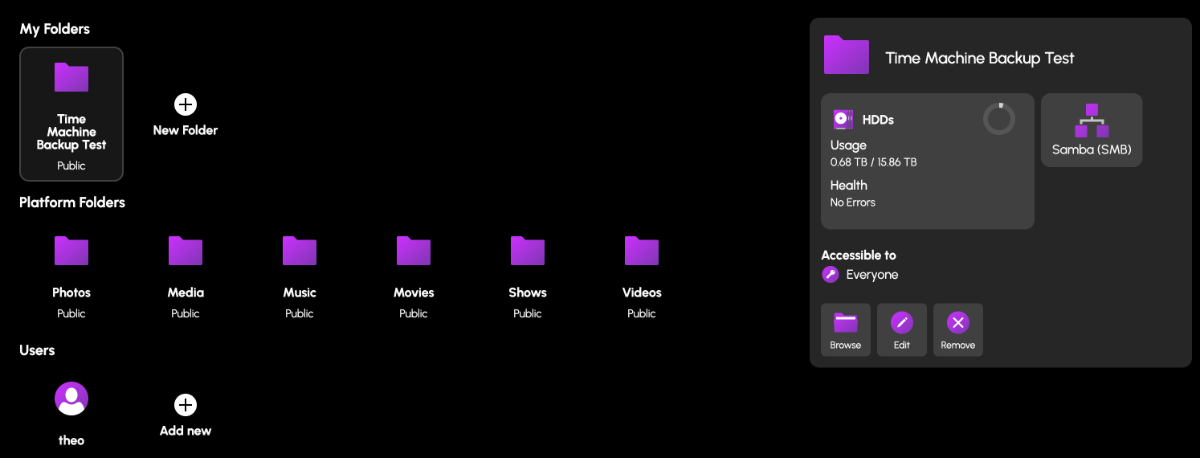
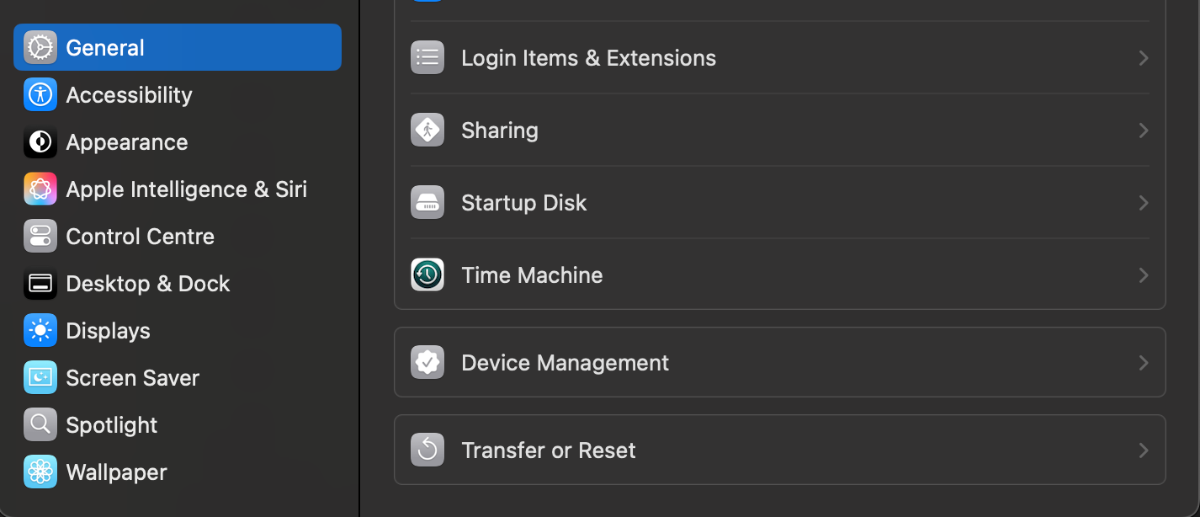
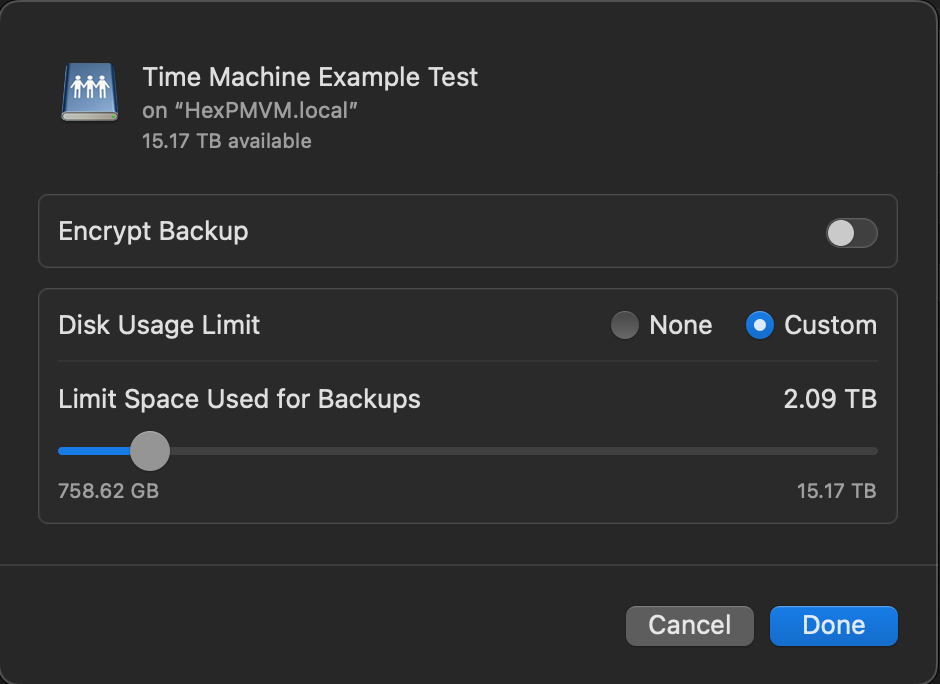
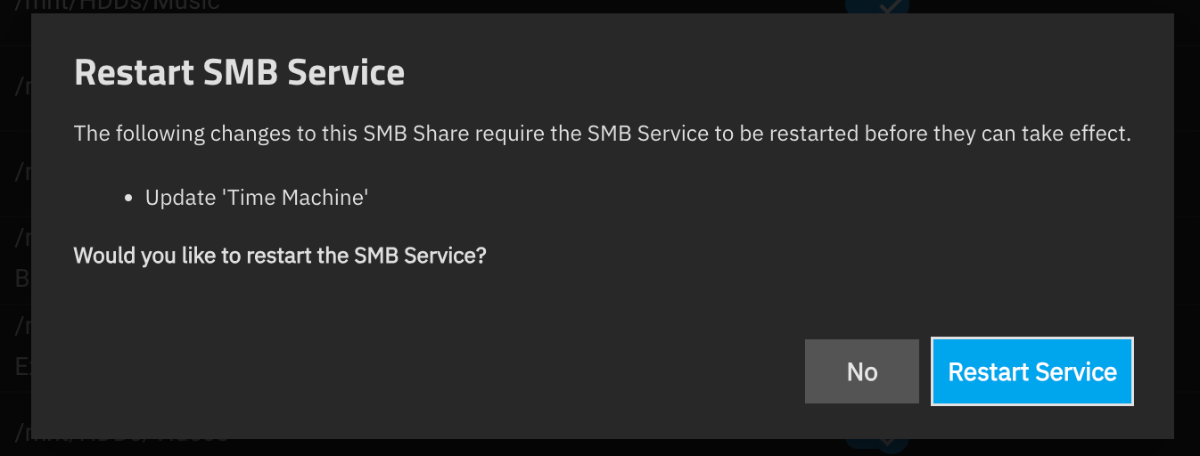
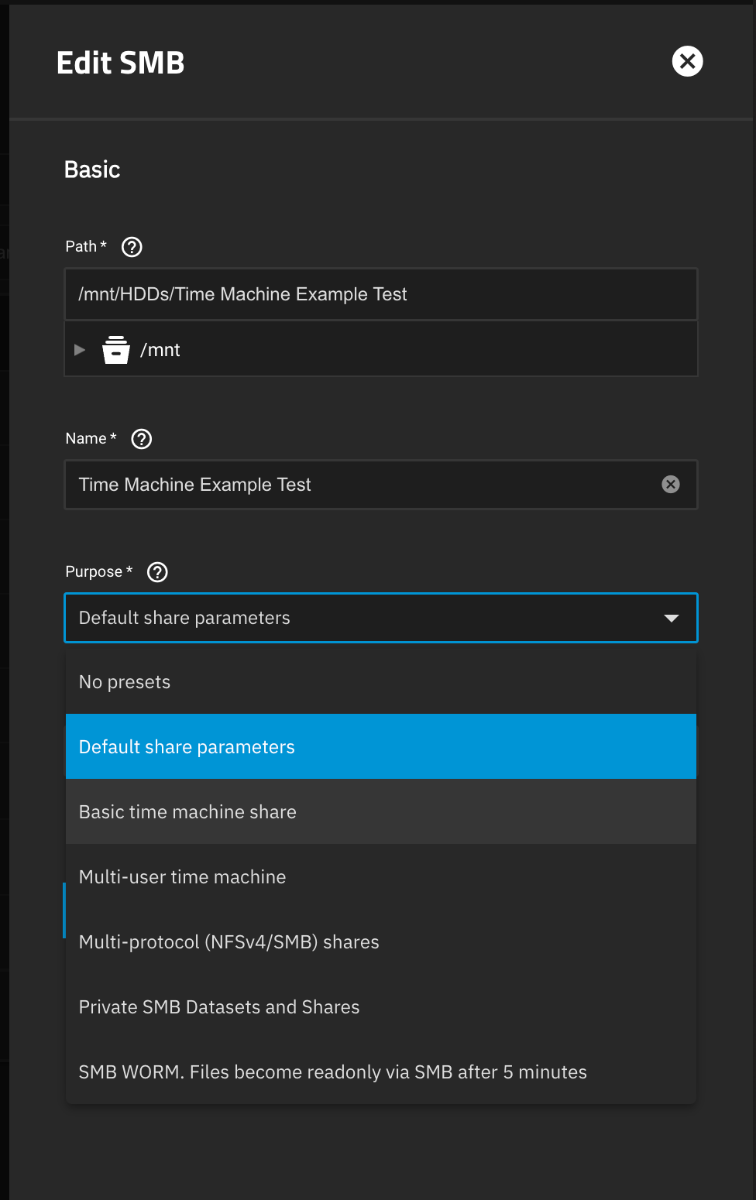
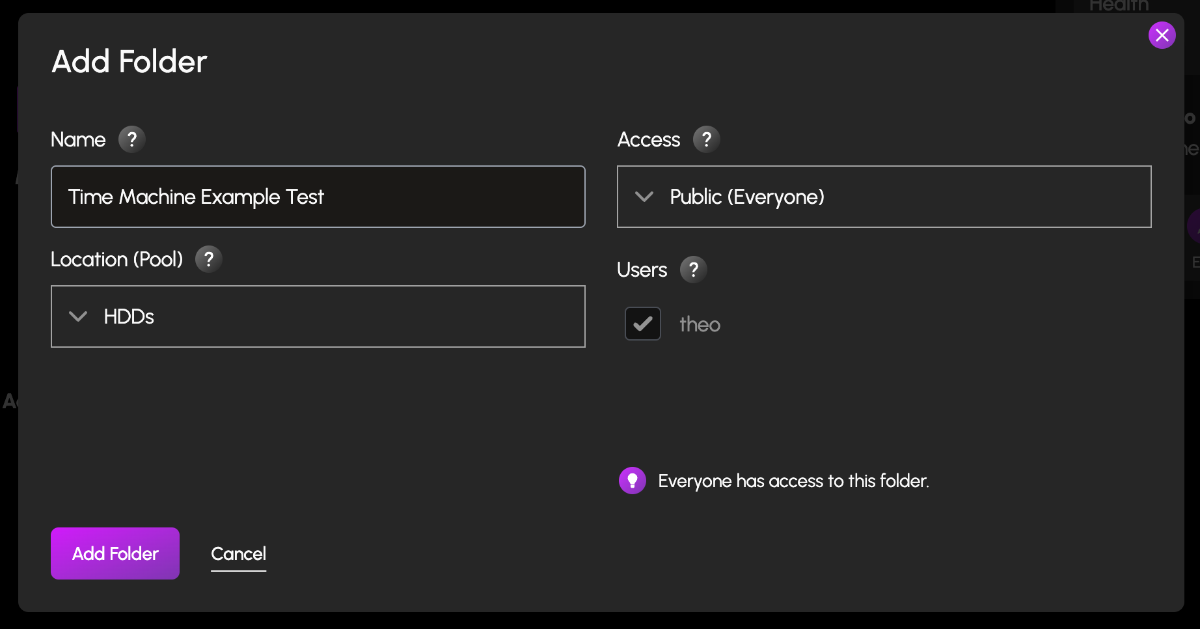
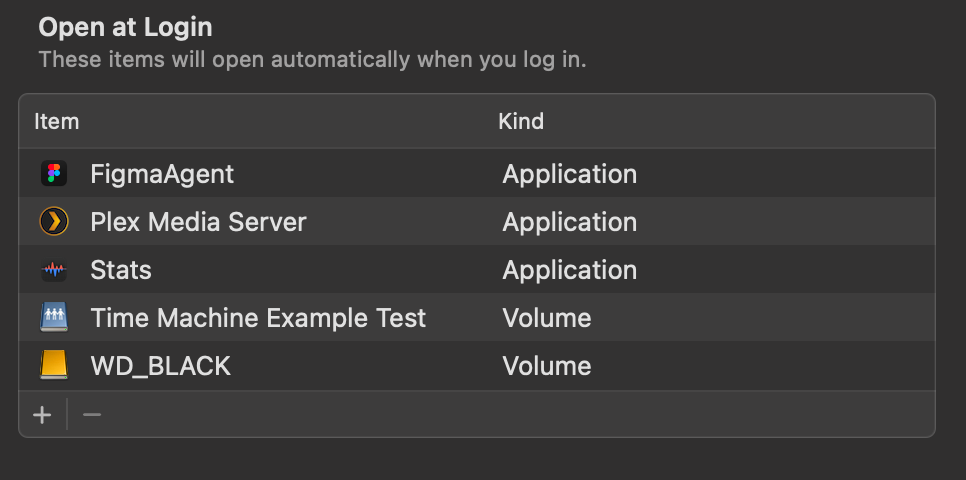
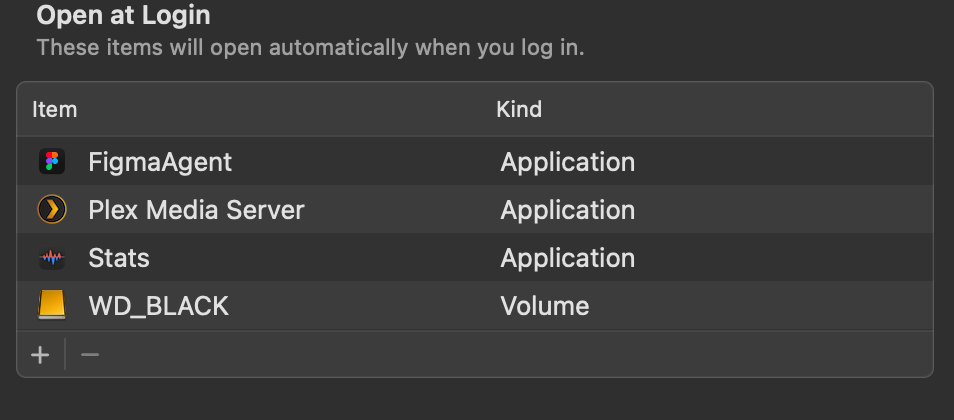
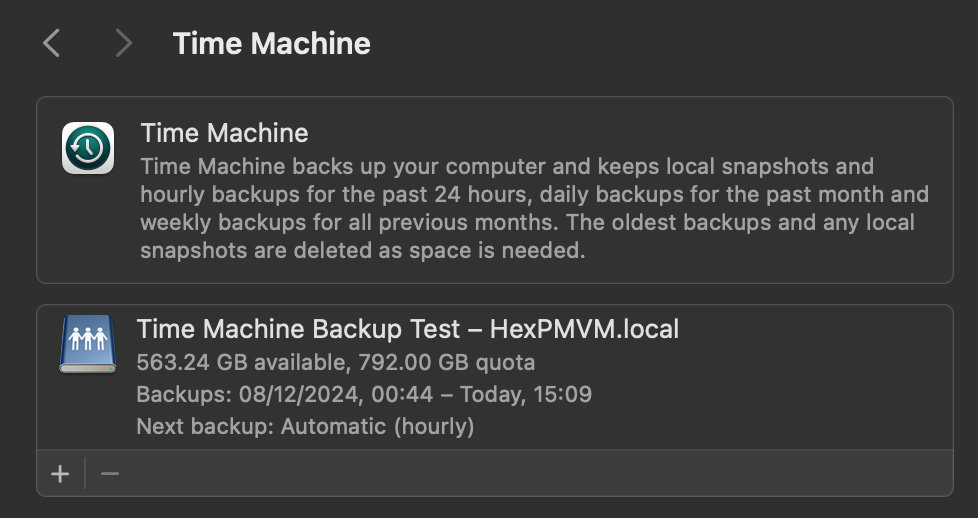
I know this is a request for a more 'One click' Hex TM integration, but incase people wanted to test this now, you can do this in Hex + TN today. (already had mine running a week without issue. TIME MACHINE INSTALL GUIDE Create a Folder & name it time machine (or a custom name) Set the Folder permissions (I left mine open, add user permissions here to restricted access) Navigate to the TrueNas UI (Server IP > Username: truenas_admin Pasword: server password from install) Navigate to the Shares tab, you should see your newly created share. Click on edit (pencil) On the Purpose drop down change to > Basic or multi user time machine. Press save/apply, and it'll prompt a restart of the SMB process. Go to your mac settings > general > Time machine. Click the + icon and locate your time machine share, then click setup disk. FYI if you aren't already connected to your Hex server, you'd need to do so now. Either search for the server in the network tab of finder OR connect to the server with finder > go > connect to server > SMB://[THE IP OF YOUR HEX SERVER] You can now choose to encrypt your backup with a password + if you choose, restrict the total disk usage the backup will have. You should now see your time machine backup setup. This will start automatically, but you can create a back up straight away if you choose. AUTO CONNECT SHARED DRIVE SETUP Now that could be it, but to ensure your Time machine backup will always occur, you need to ensure your Mac is always connected to your Hex server. to do this, we need to add the share to the login items Open Settings > general > Login items > click the + icon Locate your connected time machine share, then click open. You should now see the drive in the login items. That's it, you should be all setup and running.
1 point
-
Working as intended. 😉1 point
-
Resilio is so useful, I really hope it is included in a easy workable form.1 point
-
Resilio Sync I am aware there is an "app" for it for TrueNAS. However trying to get it setup is ridiculous. I have tried every permutation of settings to get it working. Failed every time. The only reference that I could find to get Resilio Sync to work on TrueNAS is in Japanese and there's NO sub titles for it.1 point
.thumb.jpeg.2fb375a78b6aff0cab6ac7f8aba76f19.jpeg)