Leaderboard


Popular Content
Showing content with the highest reputation since 07/01/26 in Posts
-
new app curations read more about it here https://docs.hexos.com/en/release-notes/command-deck/2026-07-193 points
-
This is something we are working on.3 points
-
At this time we are not separating our forums to have a section for each curated app. While i can see the benefit of it, today would would need 40 sections many of which would have little if any use. At this time https://hub.hexos.com/forum/11-applications/ is the correct location.2 points
-
I had the same issue, and I was able to fix this by running the following command in the TrueNAS shell: midclt call smb.update '{"encryption":"DEFAULT"}'2 points
-
Thanks for telling us. We got another person saying the same issue. We should be able to fix it. Not sure if it's today or tomorrow that we can get a fix out. Sorry for the issue.2 points
-
3 new apps and updates to snapotter's curations Please read more about it here on our new docsite https://docs.hexos.com/release-notes/command-deck/2026-07-092 points
-
@NASI see where you are coming from and will mention it to the team however at this time the best solution I can offer you is To DM me whenever you would like your posts edited and I will happily help you with that.2 points
-
We aren't planning to curate every application. Some of the apps don't make sense for us to curate. For example whoogle is broken and no longer in development However we are definitely going to keep curating more applications.2 points
-
Continuing the promise to double our curations, we are releasing 2 more curations. Linkwarden - Linkwarden helps you collect, read, annotate, and fully preserve what matters, all in one place. Memos - A timeline for quick notes, daily logs, links, and snippets.2 points
-
Feature Request: Cloud Configuration Backup & Restore It would be great if HexOS could optionally back up the full system configuration to the user's HexOS account. When installing HexOS on a new boot drive or migrating to new hardware, users could simply sign in and choose "Restore from Account Backup" to automatically restore all system settings. This could include: Storage pool configuration Shares and permissions Users and groups Apps and app settings Scheduled tasks Network settings (where appropriate) Other TrueNAS configuration The feature should be optional, allowing users to enable or disable automatic cloud backups and manually create restore points if desired. This would make disaster recovery and hardware migration much simpler, eliminate the need to manually export/import configuration files, and provide a smoother experience for users while keeping HexOS true to its goal of making NAS management easy.2 points
-
I made a quick guide on how to share any installed service via Tailscale to your friends or yourself. Requires access to the truenas UI, a the moment Hexose custom script don't expose all features needed for this. https://gist.github.com/mellester/fabc2d0e734d5a34c10778ecd0ea06461 point
-
more new app curations Read more about it here https://docs.hexos.com/en/release-notes/command-deck/2026-07-261 point
-
Hello, @carter22 If you'd like to setup a Google Meet call please DM me. Give me days and times in Central Standard Time and we'll do a call and see if we can figure out your issue. Thank you1 point
-
Swedish, Native1 point
-
Swedish, native.1 point
-
Norwegian (bokmål) native1 point
-
Norwegian (bokmål) Native1 point
-
Danish Native Dane1 point
-
https://docs.hexos.com/release-notes/command-deck/2026-07-161 point
-
Here I am a few months later and seems the dream is starting to come true. I was getting pissed off at Plex and set up jellyfin in 3 minutes and had it working all from my phone on my recliner with my wife in my lap.1 point
-
We'll put in on a list for consideration. Thanks for submitting your request.1 point
-
After today's update I am no longer able to connect to my network drive using SMB. I suspect that this is due to this change: I am trying to connect from Linux which has worked flawlessly for 1.5 years, but now I'm suddenly met with a login screen. Is this expected behavior @mill3000?1 point
-
I see the "update all button" is now is an option 🙂 Thanks Team!!!!!1 point
-
Having AMP (https://cubecoders.com/AMP) supported would allow users to get game servers up and running super fast and easy! I know my primary use cases for hexos is media streaming, image backups, and gaming servers. The first two are already covered with plex and immich. Just need a game server app for hexos and therefore recommend AMP!1 point
-
I agree. Over time we'll be able to fill in both the Egress and backup in general with your system and to other systems along with the app backup and update for our curated apps. All this takes time. The price will go up over time but when we have the features you need is the best time to buy.1 point
-
Paperless ngx.................pretty please?1 point
-
The limited number of temperature values is intentional, as far as TrueNAS is concerned. https://forums.truenas.com/t/truenas-scale-24-10-2-is-now-available/32410/2 i5-1240P has 12 physical cores, where 4 are performance cores with SMT that brings the total logical cores to 16. This means the expected (and shown) behavior is 12 temperature values and 16 usage values.1 point
-
This is very cool. It might be TrueNAS not seeing a temp on those other cores due to some issue. HexOS just takes the TrueNAS information and puts it on our graph. As the new version of TrueNAS comes out and HexOS offers the update for them maybe this will just resolve itself. I looked up the model and it's a pretty cool little NAS.1 point
-
I don't know if others are feeling this but I'll say my piece, I'm glad to see more app curations coming up now and saw there's a beta program, but it's a bit frustrating that beyond the occasional blog posts I don't really know what's coming up in the near future and to plan accordingly. Note, I'm NOT talking about exact timescales or that I want something faster. It's not an issue about whether a particular curated app will come next week or next year. The issue is that there's no specifics on what's being considered and any ballpark about which order they'll come in or how far off they are. So I have absolutely no idea what's worth holding off on for a little while because a curated app of it might come up imminently, or what isn't planned for curation any time soon (or at all) and that it might be worth diving into Truenas UI and setting up myself with the help of some AI. As one or two examples, I setup Navidrome myself in Truenas about a month or so ago myself....and then it got added to the curated app list just a week after that. Now I'm going to just leave that as-is and hope it doesn't cause any issues since I don't want to risk migrating anything and losing settings or metadata. On the other hand, there are a few apps I'm looking to setup (e.g. frigate, romm, audiobookshelf, mealie, papra, jdownloarder2) and some can be very complex and time consuming to figure out, so I don't know if I should wait or go ahead on spending hours on these. As a few examples of other projects I've seen where they give this kind of granular detail (without timeframes, and while being upfront of what is also not being considered or what is a maybe): Obsidian Roadmap - Obsidian Roadmap | MacroFactor Roadmap | Immich Roadmap 2022 — present | Notesnook1 point
-
I'd like a way to set up fan behavior within the HexOS dashboard (or curate an app that handles it). My motherboard bios doesn't allow me any control on drive temps, so my drives are always a little hotter than I'd prefer.1 point
-
Hi, when i created my pool I wasn't asked how to name it, HexOS decided it would be "HDDs". How to change that? I want to create a second pool and I'd like to have different names. "HDDs" and "HDDs-1" aren't really good names....1 point
-
Jellyfin is now a curated app on HexOS. To install home assistant go to your HexOS deck > Apps > Curated > Jellyfin > Install. Find out more on our documentation site: https://docs.hexos.com/features/apps/1 point
-
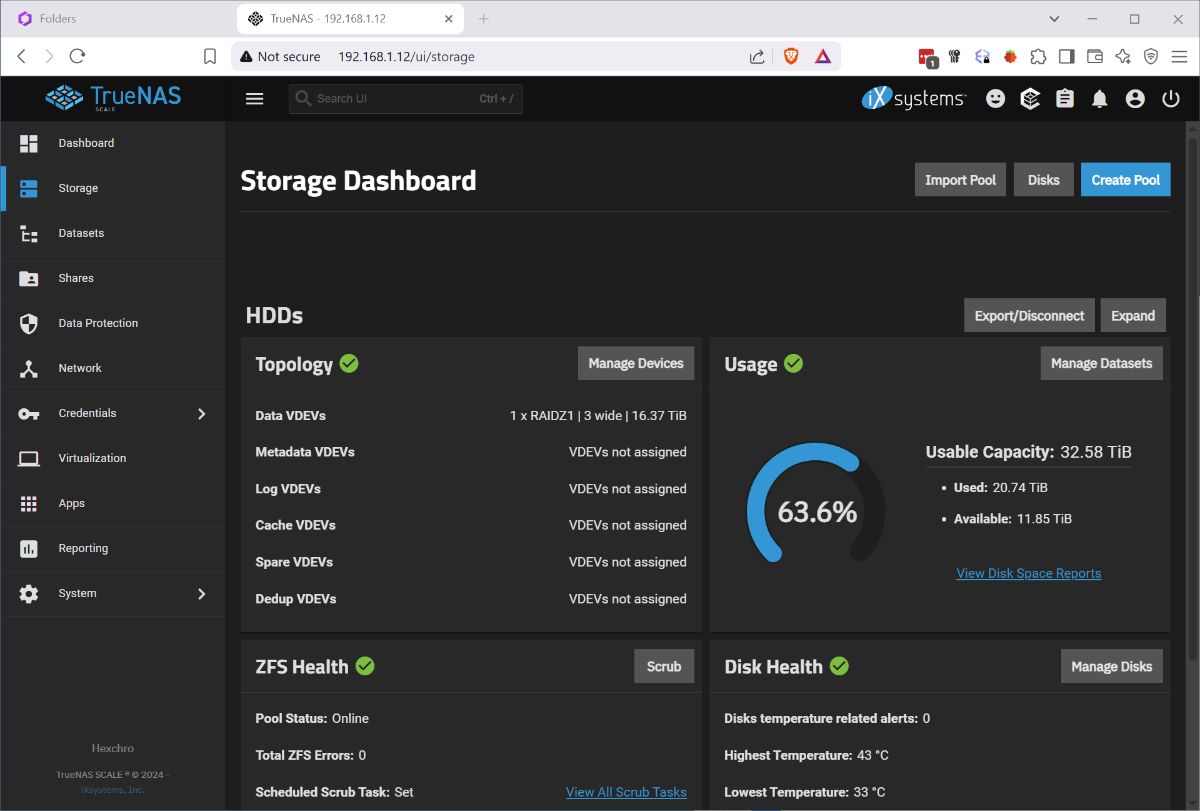
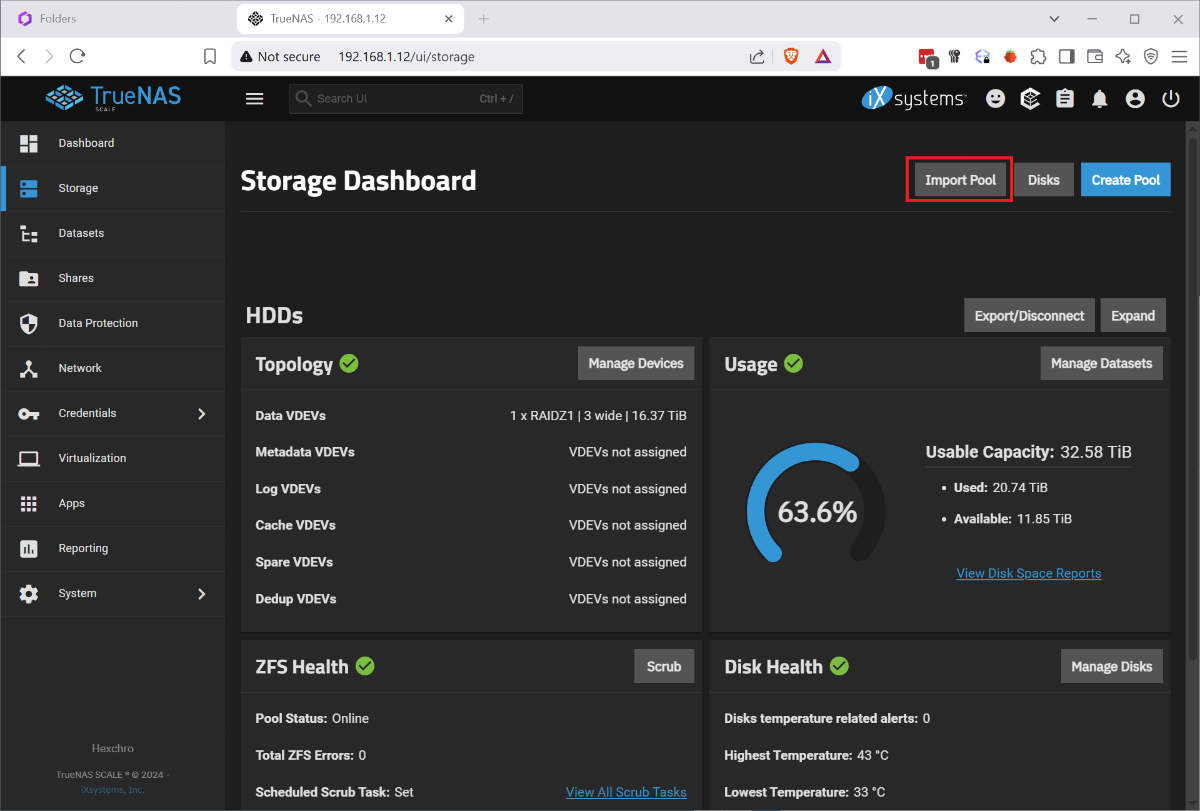
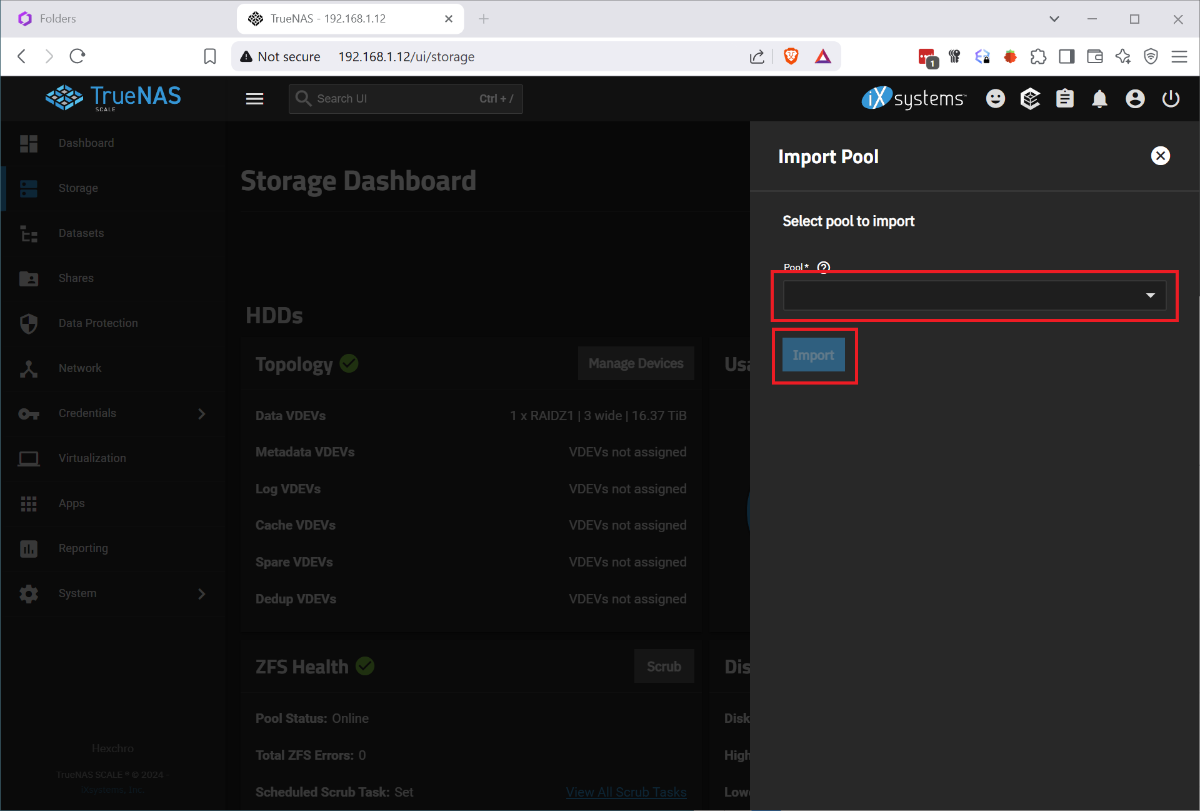
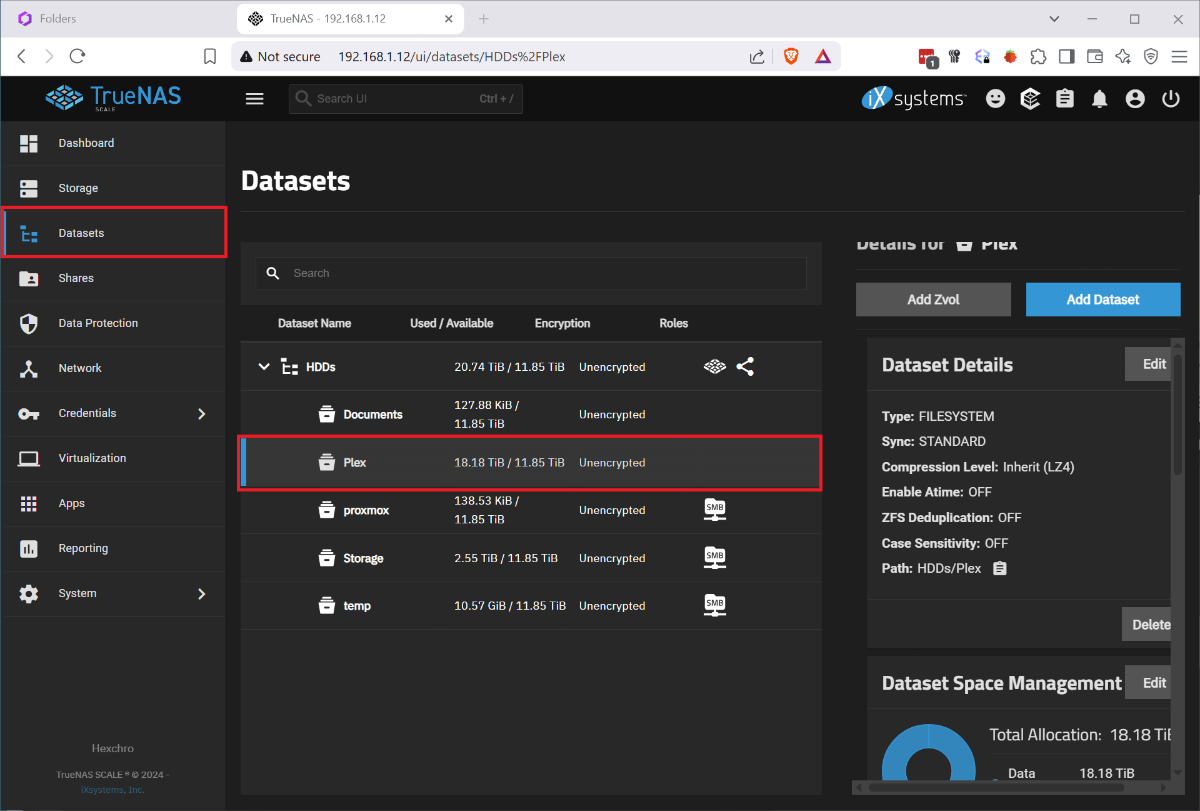
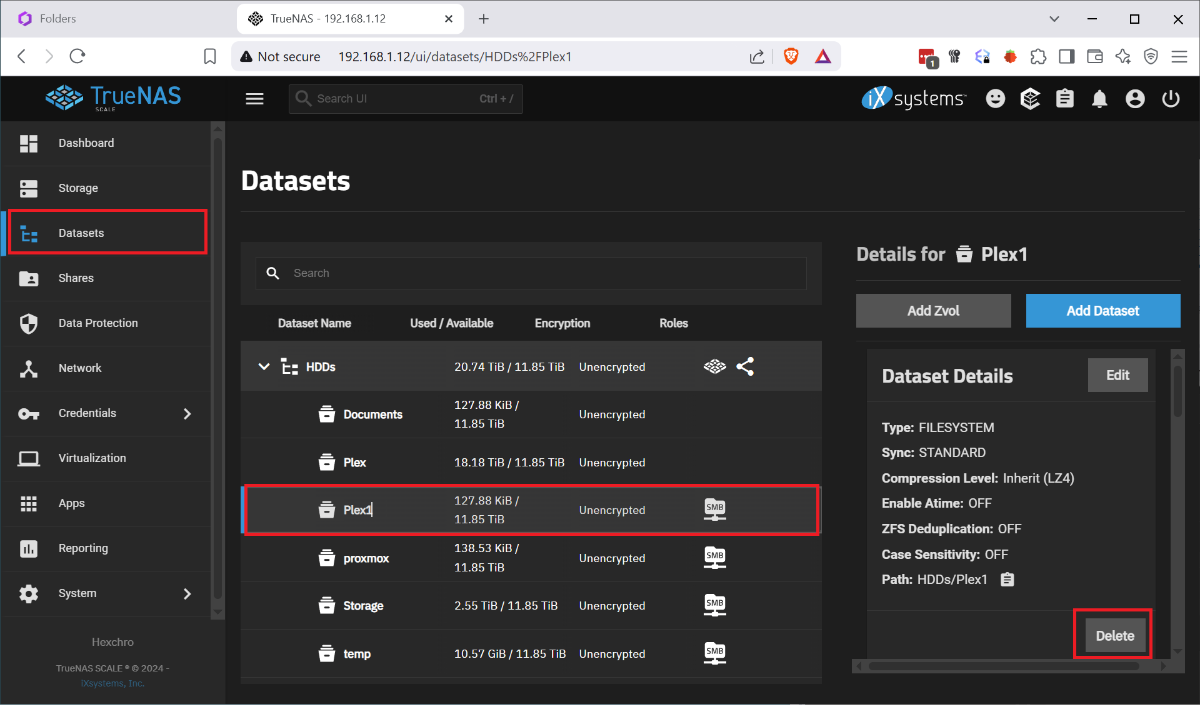
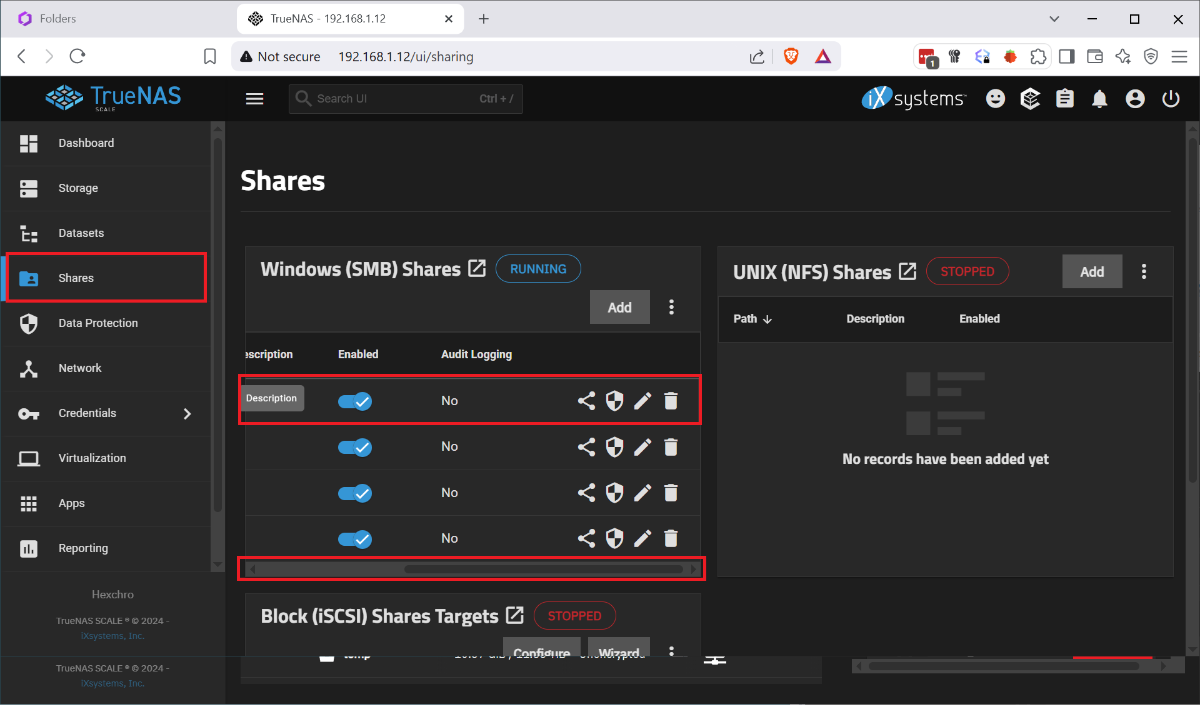
I ran into the issue that my boot drive was corrupted and I had to restore my HexOS install from scratch. I found posts that said basically just reinstall it but nothing that explained the process. I had several issues, when I reinstalled HexOS it wanted to wipe my raid, once i disconnected the raid and went through the initial setup, I had no shares. So I wanted to document this so that others with this issue find a solution instead trying to rename and recreate shares and move data between datasets. This was done after I figured out a process for doing this so sorry if I missed any steps. Step 1. Remove the bad boot drive. Step 2: Disconnect the Raid drives. Step 3: Install your new boot drive and usb HexOS install media. Step 4: Follow the standard install process, including setting your admin account and claiming your server. When you finish the setup you will not have any disks so you will name your server and just continue. Step 5: Shutdown the system. Step 6: Reconnect your raid drives and boot up. Step 7: Log in to the TrueNAS gui by going to the IP address of your server in the browser and using the credentials you set up during install Username: truenas_admin Password: <whatever you entered at install>. Step 8: Go to Storage Tab and select Import Pool. 9: Select your pool from the drop down it should be named 'HDDs' and select Import. It will take a few minutes to import and complete. At this point the storage should be detected in HexOS and you should be able to start creating shares, but your existing folders and shares will not have returned. To get your shares back you must recreate them by renaming your datasets and naming them back as follows: Step 1: Under Datasets you can find all of your existing data on the RAID. Find the Dataset you want to restore in HEXOS and note the name. Step 2: Back in HexOS go to the Folder tab and select 'New Folder' Note: you may want to recreate your old users manually or create your folders with public access and recreate the users and add permissions later. Step 3: Create a new folder with the same name as the Dataset but add a 1 (In this case 'Plex1'). Make sure to keep the array the same 'HDDs; and give it the permissions you want (this can be adjusted later). Step 4: Back in TrueNAS go to Shares and select the edit button on the 'Plex1' share, depending on screen resolution you may need to scroll the horizontal scroll bar to the right. Step 5: In the side bar remove the '1' from the Path or use the drop down to select the original shared folder, then click into the Name field which should auto update and remove the 1. Step 6 Scroll down and click 'Save' and you will be prompted to restart the SMB service, do this and your share should be updated. Step 7: Navigate to the dataset tab select the 'Plex1' dataset and click delete on the right side. It will make you confirm by typing the whole dataset path. Step 8: When this is done you should be able to refresh the folders tab on the HexOS page and see the updated folder name (it took a minute to refresh for me). Redo this for each share that you wish to recreate. Once I did this and set up the users and permissions correctly, other servers I used to connect to my shares started working seamlessly. I didn't experience this but I can imagine you may run into some permissions issues since the new users in HexOS could have different IDs than before. Unfortunately you would need to manually adjust permissions on the files and folders. P.S. I imagine minutes after posting this someone will tell me I am dumb and should have done it this way, or someone else posted better over here. If that's the case let me know and Ill point to a better example, but when I needed help I couldn't find it.
 1 point
 -
Hello, It seems the after the update some systems on reboot are reaching out to our server so it doesn't know your there. Try the following. Login to TrueNAS interface. Left side select "system". Then after screen refreshes select "shell" from the list. Paste in the following command. Can't use normal short cuts Will need to use Shift + Insert Key for pasting. sudo python /usr/lib/python3/dist-packages/middlewared/scripts/vendor_service.py If that works within about 1 min you should be able to go to deck.hexos.com and see your server or claim it.1 point
-
Just got off a call with a few of the Eshtek guys, they set me straight very quickly. Before I called them, I dove into what others here have done. Here is what fixed the router swap for me: Sign into the TrueNas Scale Web UI. Go to Network: Go to Global Config settings: Change Nameserver1 and IPv4 Default Gateway to the IP address on/of your router. My issue was that I kept changing the NAS IP address to the IP of the NAS, not the router. Essentially, I was signed into my router interface, looked up what the NAS IP address was, and kept changing the Nameserver1 and Default gateway to that IP, when I should have been setting it to the IP of the router. Once that is done, my NAS found the internet again, the HexOS deck found a server and I was set! I had to skip the initial setup in order to prevent wiping the drives, but I was saved. Thanks to Nick and Eric!1 point
-
Cloudflare is awesome, and I definitely want to see native support for Tunnels. It is fairly simple for a technical person to setup but it would be nice to have a wrapper within HexOS for like a one-click setup. Basically you buy a domain in Cloudflare, link your account to HexOS and it will perform the necessary config to setup the tunnel, route application services to your domain, and apply ACLs based on what you already have in HexOS. Although, you do need a domain to use Cloudflare Zero Trust. Tailscale is another option, and does not require a domain to use. As of right now the docker app already runs great. I imagine they could add a simple wizard—the current setup process has a lot of options but only requires an auth key to be set for it to work.1 point
-
While I don't care about paperless ngx myself, @Mobiusdo you intent to try to curate all 390+ apps in the TrueNAS catalog?0 points