

ulfn
-
Posts
145 -
Joined
-
Last visited
1 Follower

Recent Profile Visitors
2608 profile views


ulfn's Achievements
")


-
So, I’m still here, though it has been some time without updates on my journey towards a working NAS with HexOS. I got a new digital camera this early autumn, and before that I spent some months googling for information regarding three alternatives I found interesting. Between this, life in general, with work in the mix also, although I’m retired, there’s only so much time to spend on the HexOS SFF NAS. I’ll surely be back when time and inspiration work together. Trust me.
-

Replace admin password server claim with something more secure
ulfn replied to airikka's topic in Roadmap & Feature Requests
Along these lines, I’ve somewhere read that you should delete the truenas_admin account and create another administrator account with your own chosen username and password. For safety. That’s on my list of things to consider going forward. -
So, the Windows PC I built in 2016 is on the mend, in that it had to get a reinstall from inside Windows itself. A grey screen (of death, they say) meant it wouldn’t start properly. This was such a load on my mind, it had to be done not to block the road for the other small problems. Even if it has nothing to do with HexOS, this PC is not worthy of Windows 11, so Linux would have to come to the rescue in the coming months. Now I only need to find time to work through the rest of my list 😉
-
Just a comment on the question itself, ”What new gear are you interested in?” I believe this topic by @Dylan will have eternal life. I compare this to a Swedish hifi forum I take part in, where a user in September 2005 posted the topic ”What are you listening to right now?” Two simple and innocent questions started it all. ”What’s rotating on your record player right now? What’s playing in Windows Media player at this moment? ” This topic is still active now in 2025 with new posts regularly. Hifi people always listen to music 😉 And in the area we’re in, there will always be new computer gear to catch your eye. Or new software, for that matter. I believe this was like hitting the nail on the head. A reflection on a Monday.
-
You know, for now it sits there really doing nothing, temperature is very moderate and no noise. I explained in an earlier post about the questions I still have, that makes me a bit paralyzed, for lack of a better word, when it comes to testing the PocketNAS for real. ”It’s apparent I’ve taken a little break from the HexOS implementation. It’s just that many questions are up in the air, a situation which don’t help me going forward. By writing them down here I try to make the road ahead a little smoother. It makes me being able to focus on one problem at a time. I hope. So here we go: Smb shares possible without installing anything? Separate pool for smb shares? (correct zfs terminology?) Getting my main Windows PC going, for smb shares Delete TrueNAS_admin account, and create another administrator user? Static IP (realized by DHCP reservations?) Https instead of http?” When I’m there, all question marks straightened and NAS is working moving my model files, I’ll let you know more.
-
Creativity is like food for the "happiness center" of our brain. My natural creativity area is language, I like writing. But this computer related stuff is not far behind.
-
Wish I could but no, I don't have those capabilities machine wise, or knowledge😉 Just happy it's out there to buy...
-
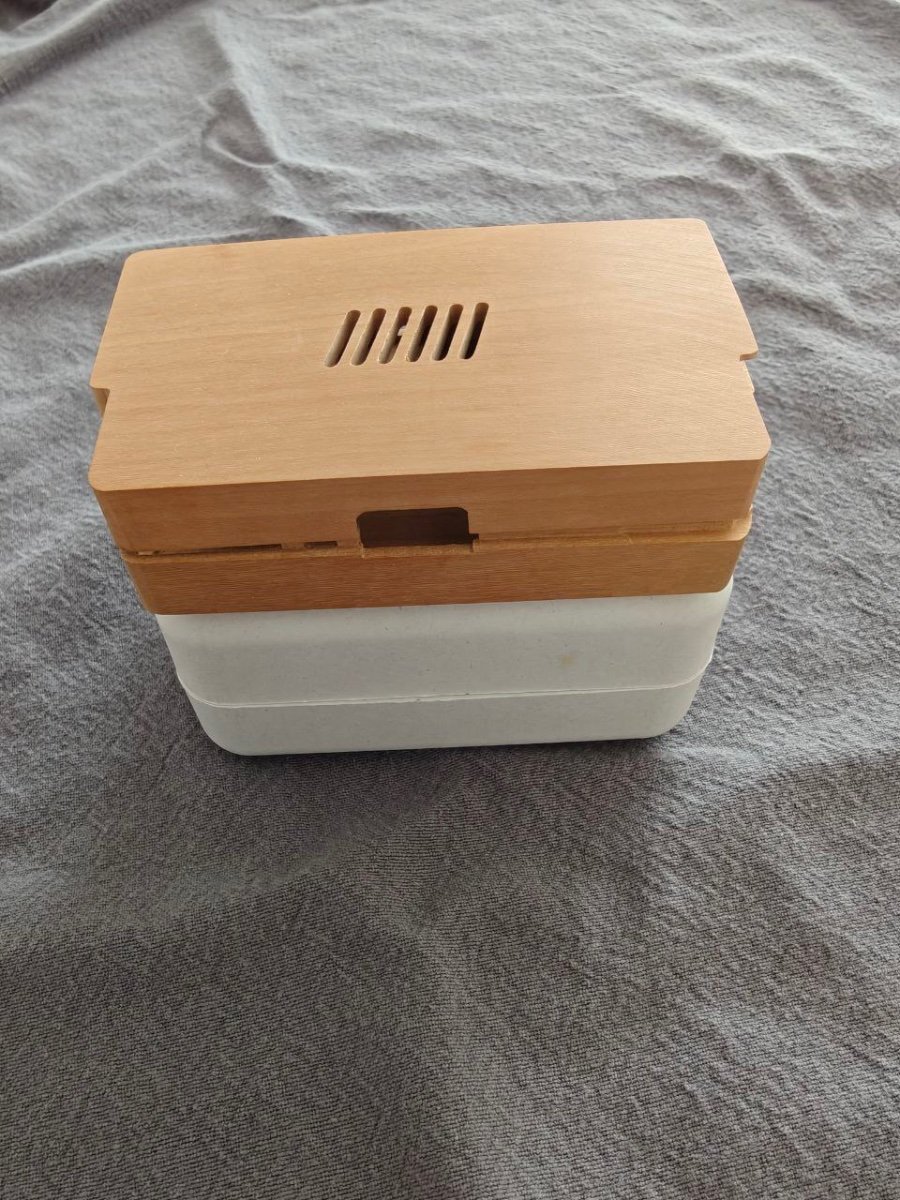
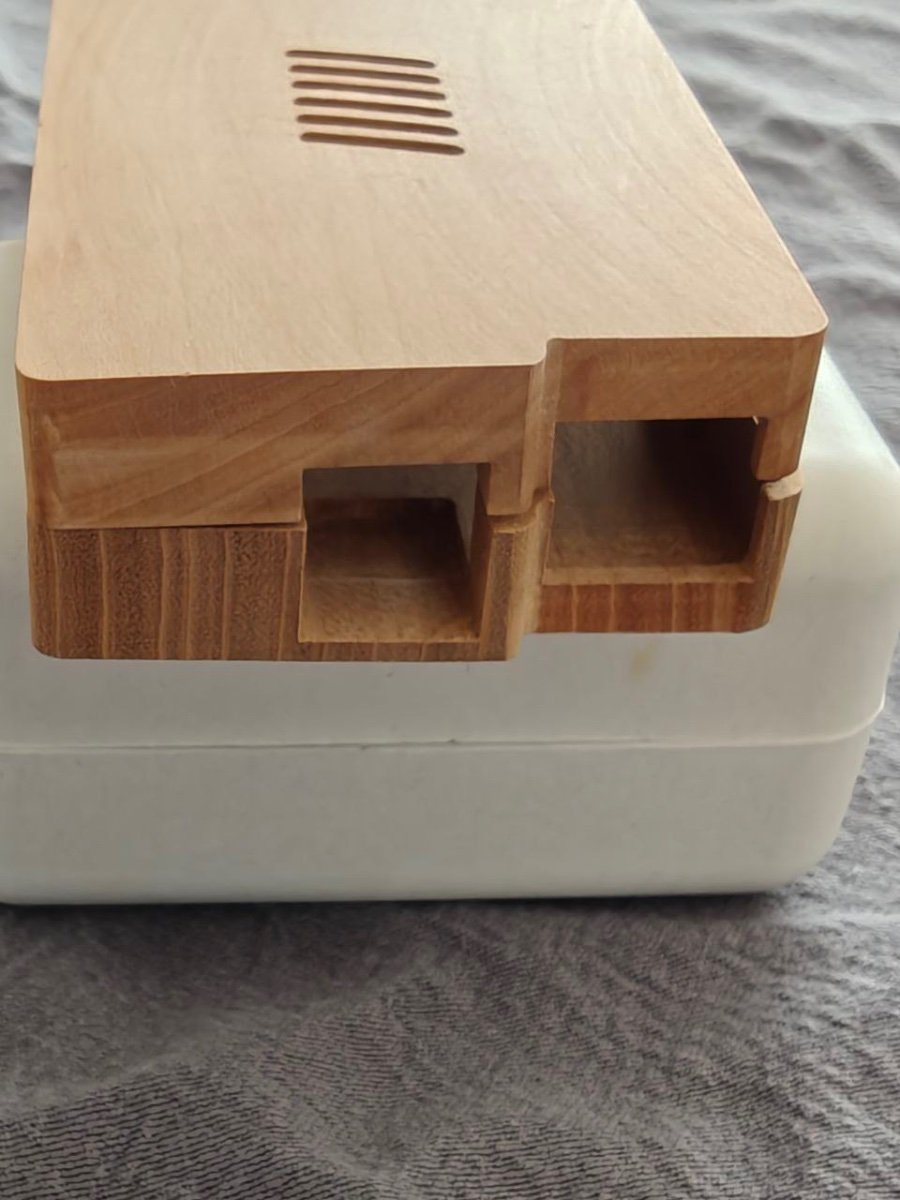
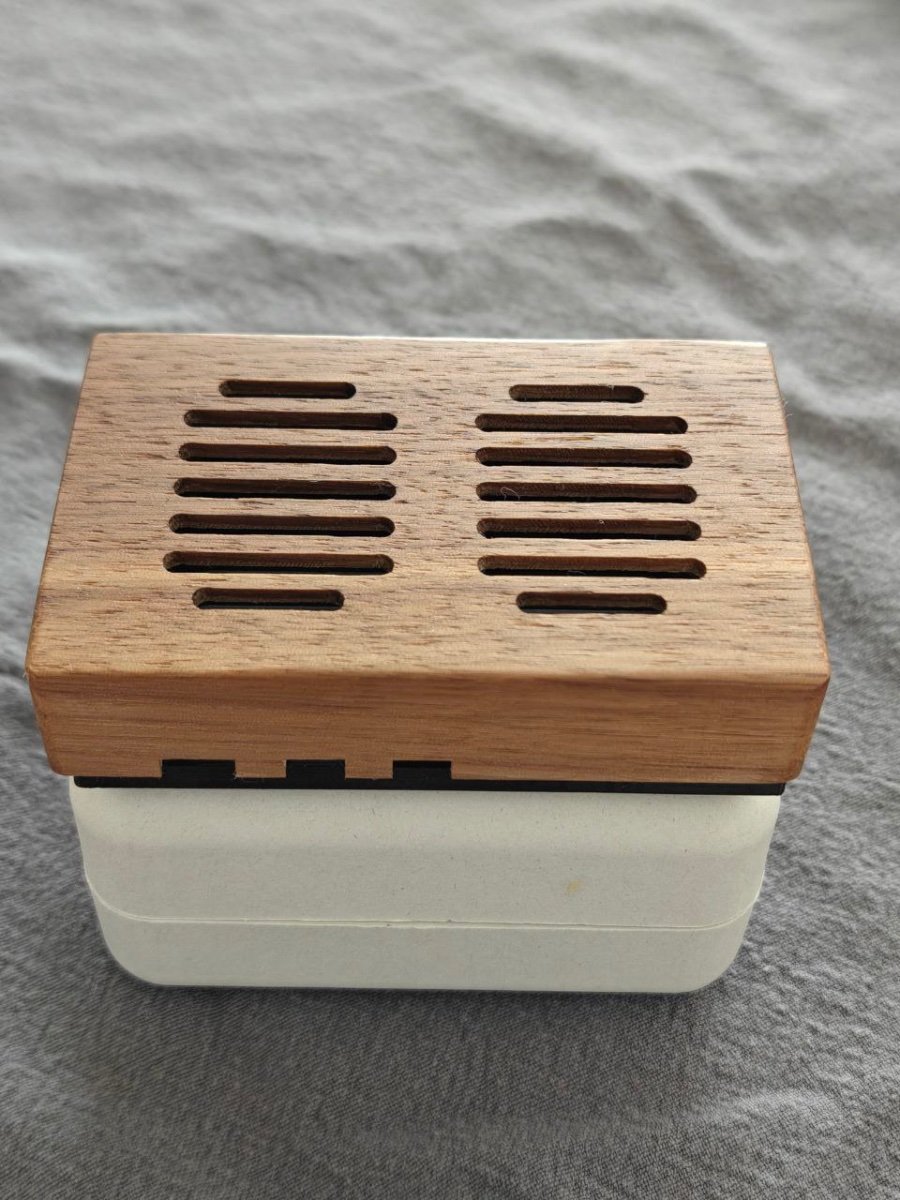
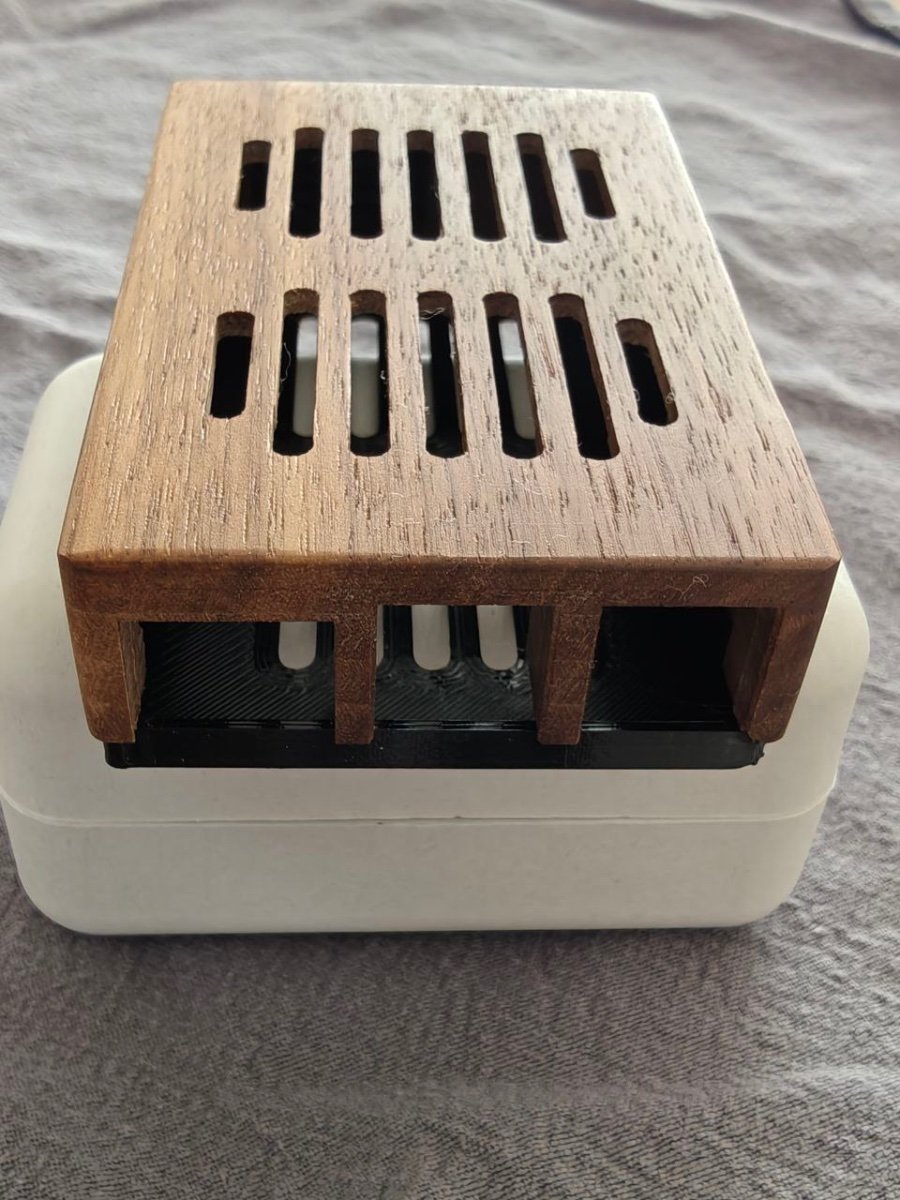
I would like to show some pictures of the older case also, since they are both very stylish. This case has a bottom part where you put the Pi, then you put the top part above 😉 That’s why it looks a bit so-so in the pictures - the top part is not properly set. If I hadn’t found a wood case for the Pi I would(!) have chosen this Akasa aluminium case: https://akasa.co.uk/update.php?tpl=product/product.detail.tpl&type=CHASSIS%20POWER&type_sub=FANLESS%20CASES&model=A-RA13-M2B Thiis isn’t about HexOS, I know, but either of my use cases could work like partners to my HexOS PocketNAS.

-
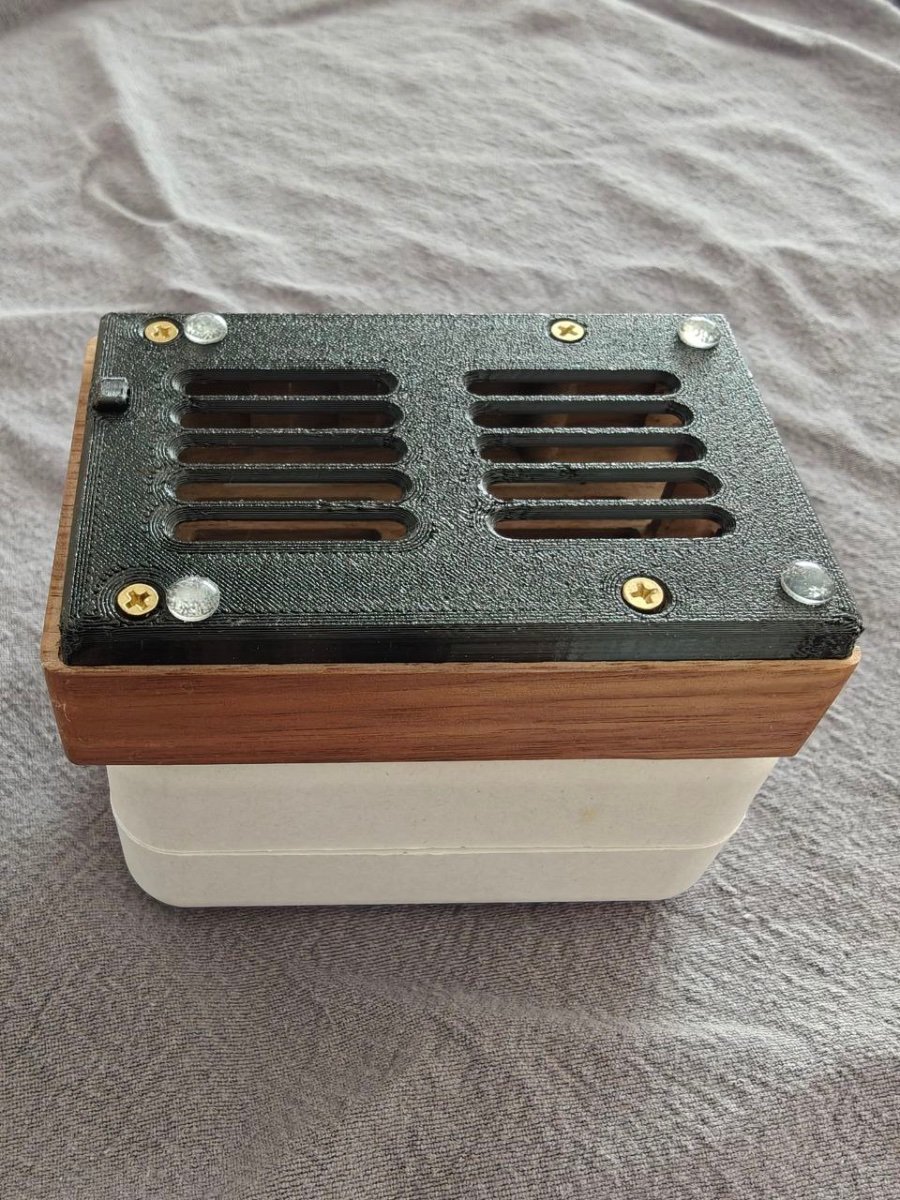
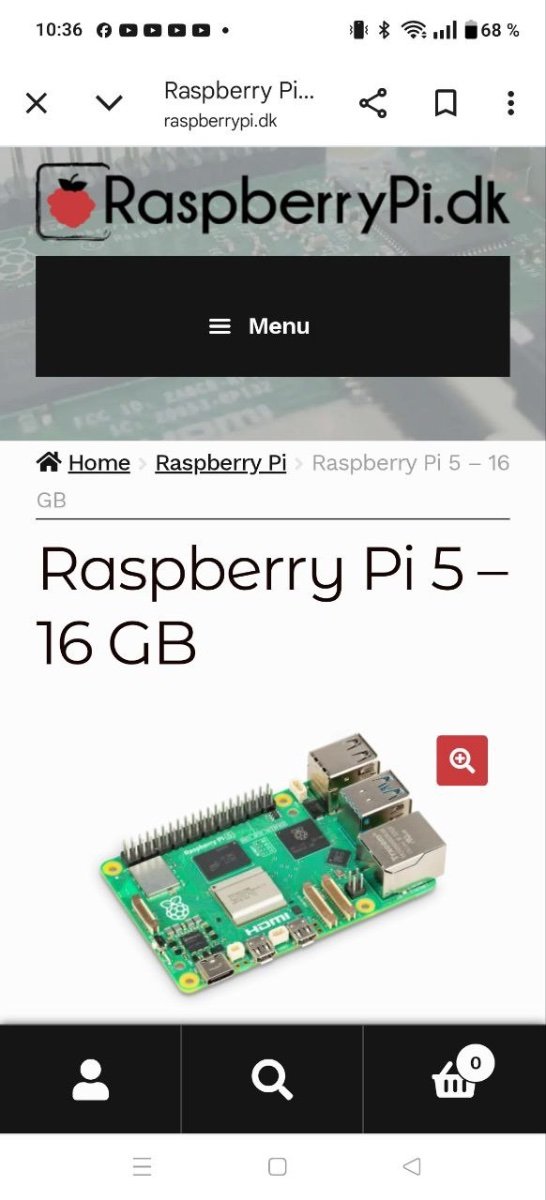
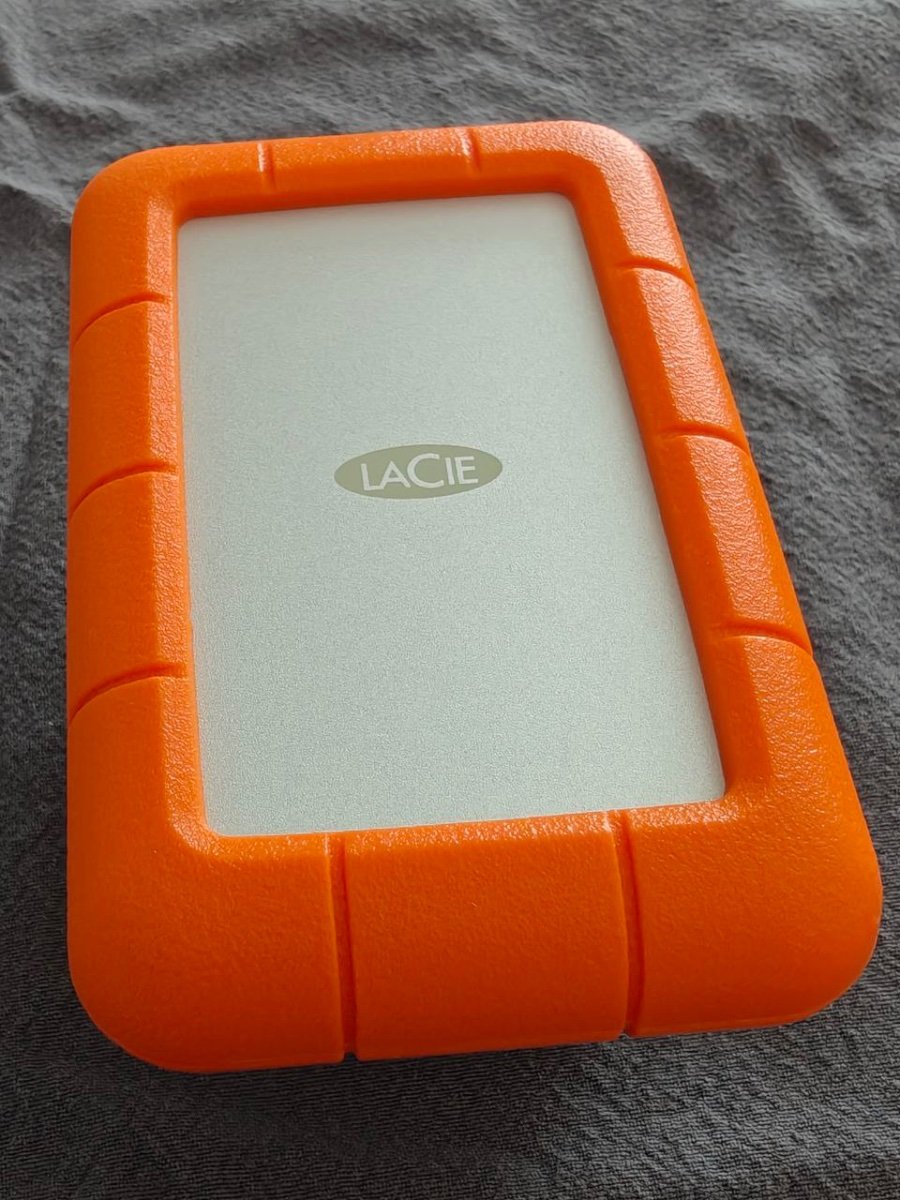
In the topic ”What new gear are you interested in” by @Dylan I mentioned I had a little project on the side. So I got me a Raspberry Pi 5 with 16GB RAM, with two possible use cases. First alternative is to place it in my sister’s apartment for an off site backup, together with a 5TB Lacie Rugged USB drive for storage. Second alternative and maybe more exciting is to use it for a Nextcloud setup. There is a specific Pi OS for this - Nextcloud Pi. I even found a video describing a setup like this: https://www.xda-developers.com/i-built-a-personal-cloud-using-my-raspberry-pi-and-heres-how-you-can-too/ Many years ago I bought a wooden case for an earlier version of the Pi I had also got. That never came to any use, but at least I got to know there are nicer cases out there. So with this new Raspberry Pi 5 I ordered, from Germany, a case specific for the Pi 5: https://barebaric.com/en/shop/barebaric-raspberry-pi-5-case-made-from-real-oak-or-walnut-wood-1#attr=14,2,3
-
So, here’s the link to my Raspberry Pi 5 walnut case. I’ll write more about the Pi in my own topic. https://barebaric.com/en/shop/barebaric-raspberry-pi-5-case-made-from-real-oak-or-walnut-wood-1#attr=14,2,3
-
It’s apparent I’ve taken a little break from the HexOS implementation. It’s just that many questions are up in the air, a situation which don’t help me going forward. By writing them down here I try to make the road ahead a little smoother. It makes me being able to focus on one problem at a time. I hope. So here we go: Smb shares possible without installing anything? Separate pool for smb shares? (correct TrueNAS terminology?) Getting my main Windows PC going, for smb shares Delete truesnas_admin account, and create another administrator user? Static IP (realized by DHCP reservations?) Https instead of http? Useful comments are welcome!
-
New gear? Yes! I’ve just got a Raspberry Pi 5 to play with for a second unit placed elsewhere, with a USB drive for storage, OR as a separate device for implementing Nextcloud. There is a Nextcloud PI OS for this. I even found a wooden case for the Pi, to make it not look like computer gear.
-
Thanks for the video! GMKtec was actually the brand I considered before getting my PocketNAS. Interesting with a small main unit combined with the external drive case. I might by the way have good use for this video to help me setting up my own NAS properly 😀
-
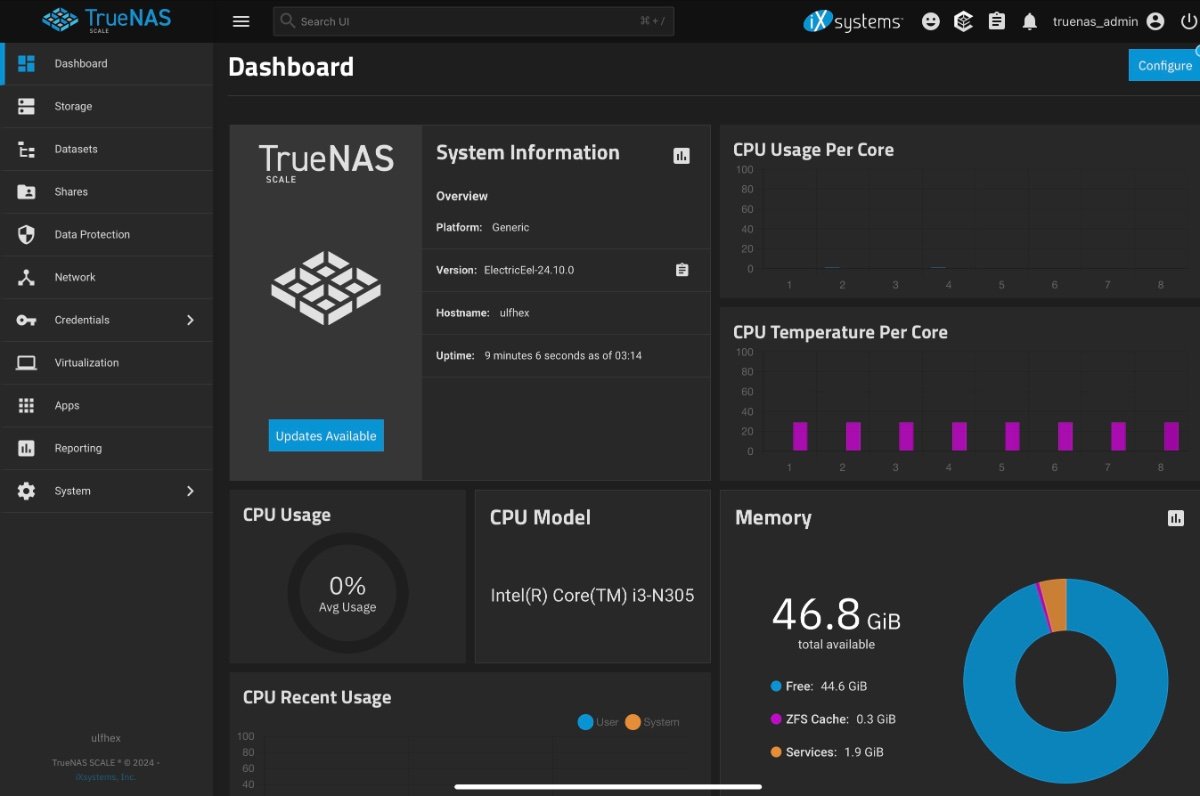
So, installed and ready, would it work? TrueNAS dashboard has the answer. Success 😀 Next step would be playing with storage files. After I got the hang of smb shares…