Leaderboard


Popular Content
Showing content with the highest reputation on 07/29/25 in Posts
-
Can the notification be changed slightly to make it clear it's a Command Deck update and not something locally we need to install? The notification said "HexOS has received an update" so people may be looking around to see where to update. You can see it's a Command Deck update if you click "Release notes are available here." but if you aren't the type to read release notes you may still get annoyed looking around for how to update your HexOS install. Not having a moan, just wanting to keep it as clear as possible for everyone - Thanks! EDIT: Actually now I'm not sure if it's actually an update we are meant to do or not 😂5 points
-
Another Command Deck update went live today. This release includes: Fixes to the networking layer for users switching between DHCP and static IP modes Improved performance across the app based on the observability metrics added last release A new queuing and caching layer to handle folder loading for users with a large number of folders, preventing API overload with TrueNAS A fix for a bug that caused folders to appear missing when a private folder user had been deleted Performance work is ongoing. Let us know if you spot anything.1 point
-
While there are a lot of things for the dev' team to work on, out of the box the initial release of HexOS delivered a simple but functional and stable NAS software solution. To be honest I've gained all the NAS functionality I wanted (using inexpensive hardware), and learnt a lot along the way, worth every cent of the $99 licence I think...
 1 point
 -
Thank you all for the responses on this. We had a lot of fun going through them, and we will incorporate the feedback in the next UI pass.1 point
-
Did I miss this somewhere, or is it still not implemented? Considering that we are relying on your website security to protect our systems, I would have considered MFA a priority.1 point
-
yes bite the bullet and use the 1tb drive for something else. i wouldn't use it for cache but you can make a single drive pool to install your apps to.1 point
-
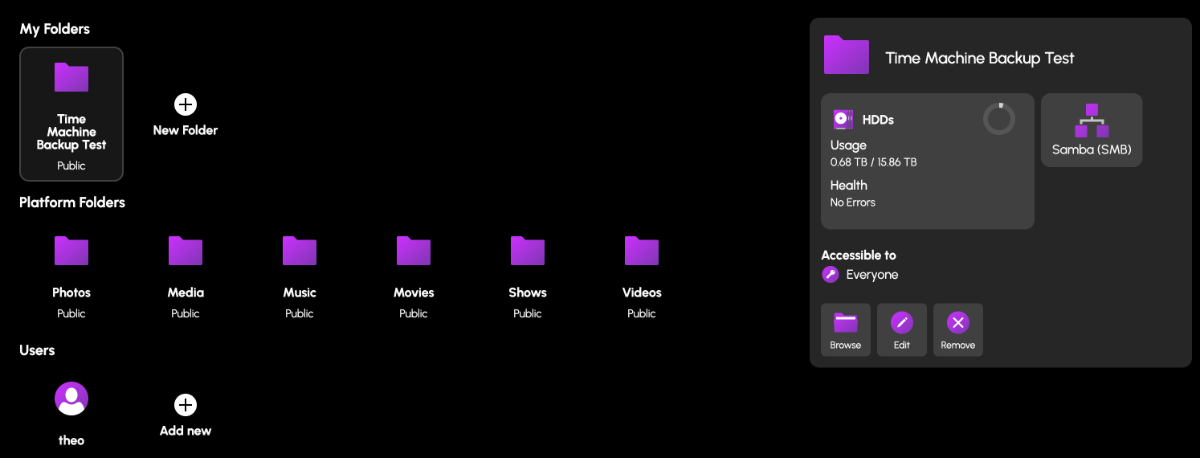
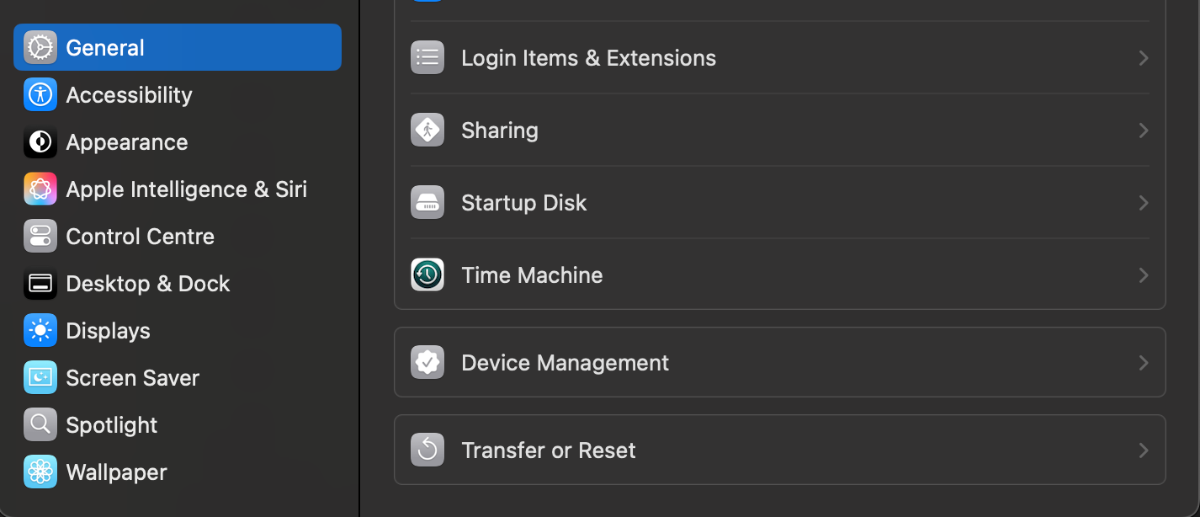
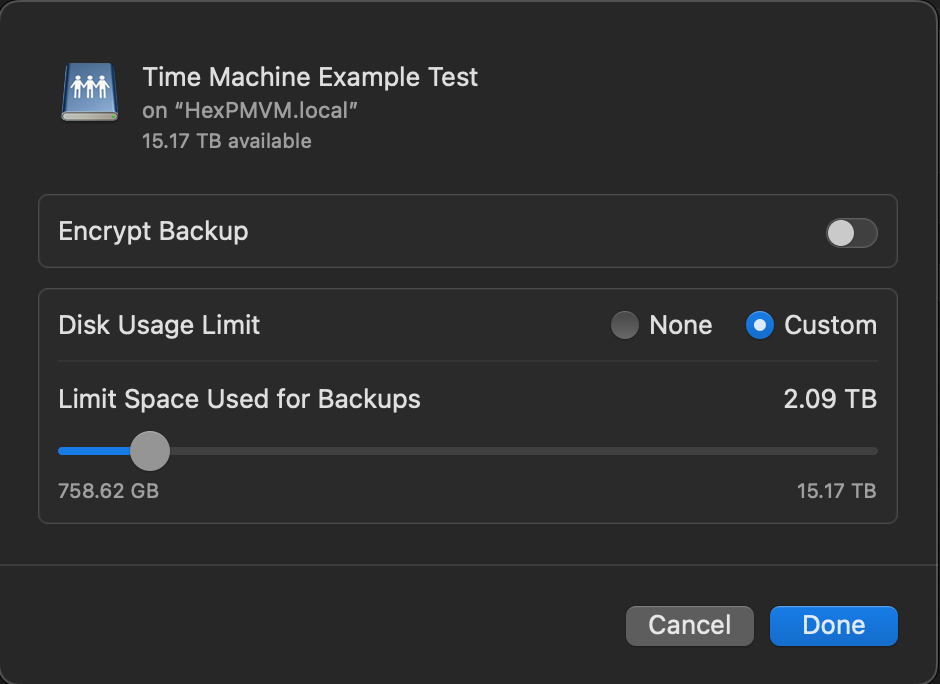
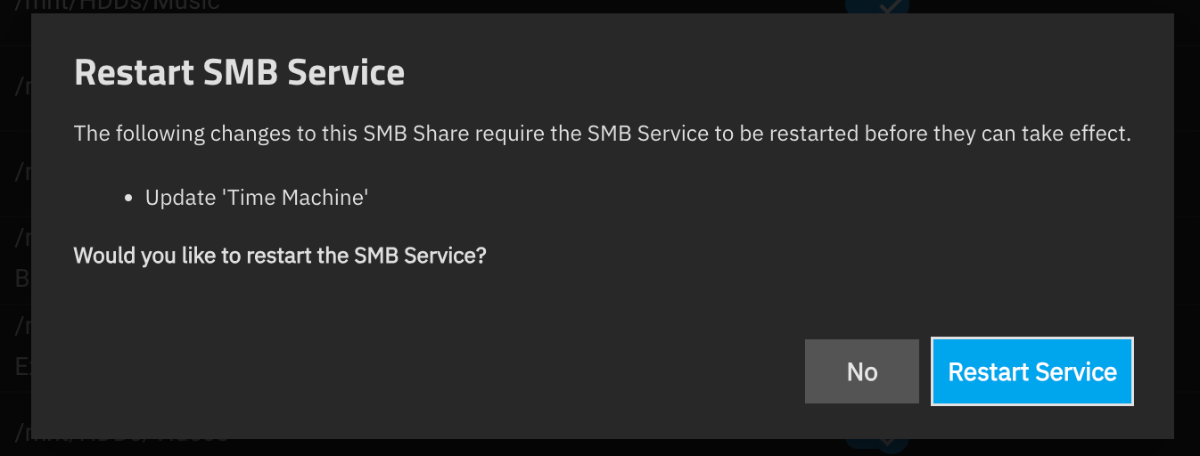
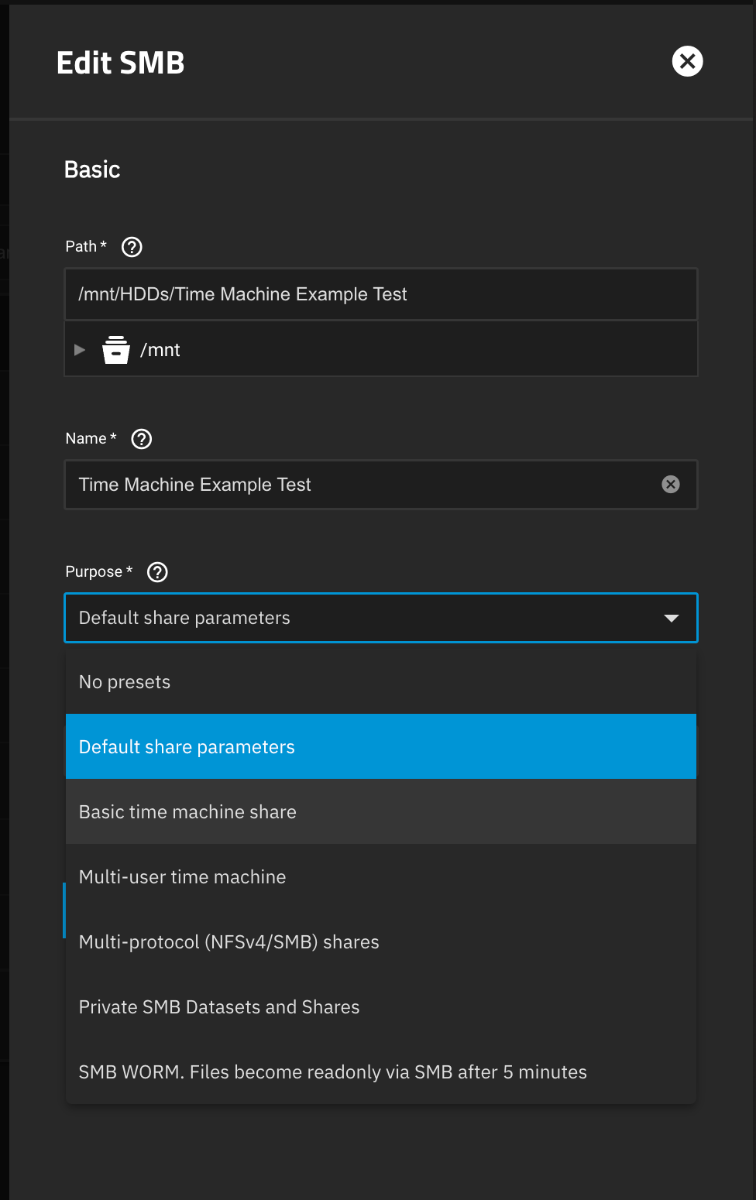
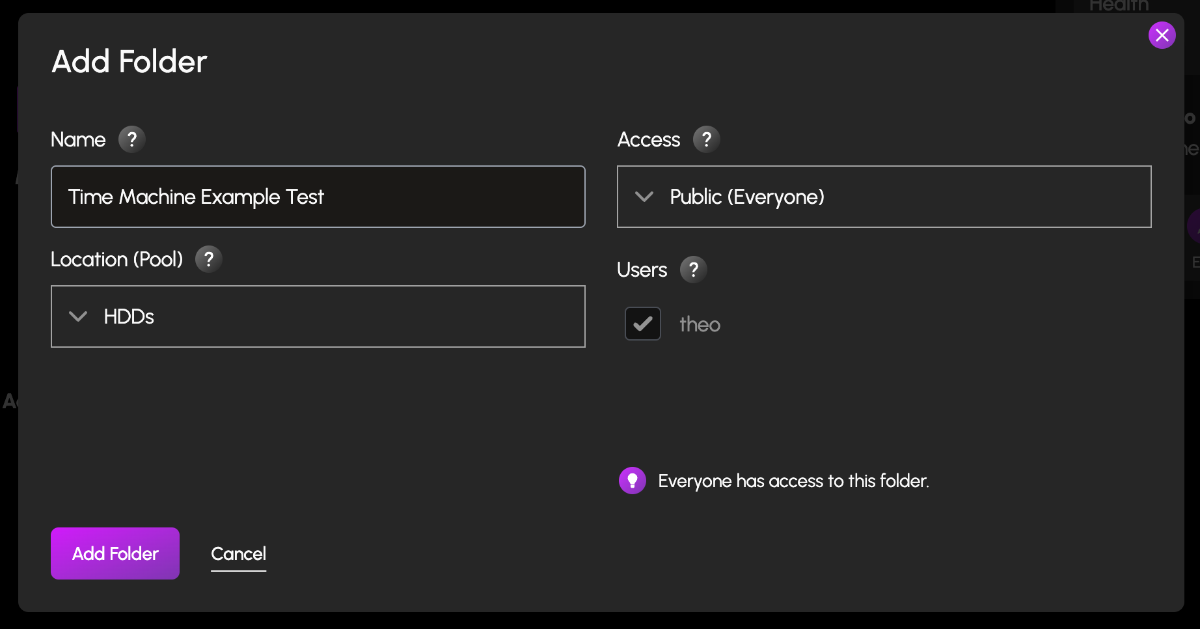
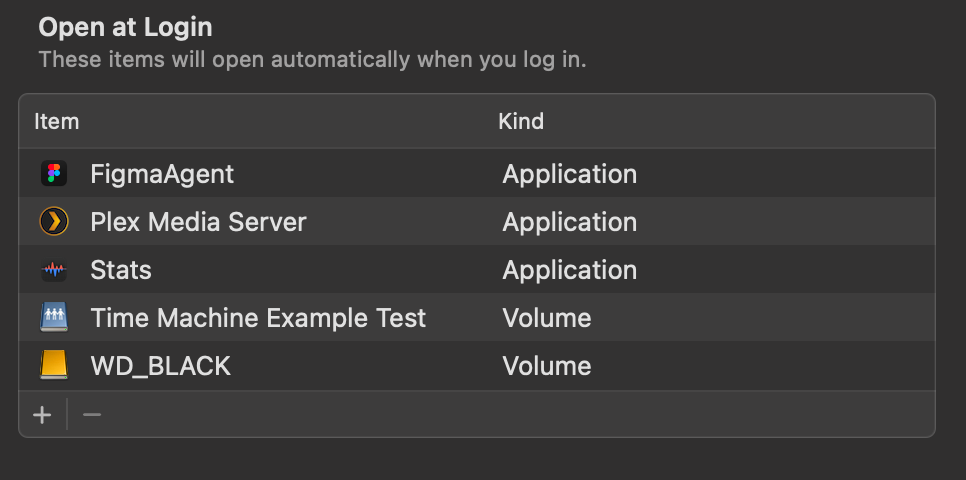
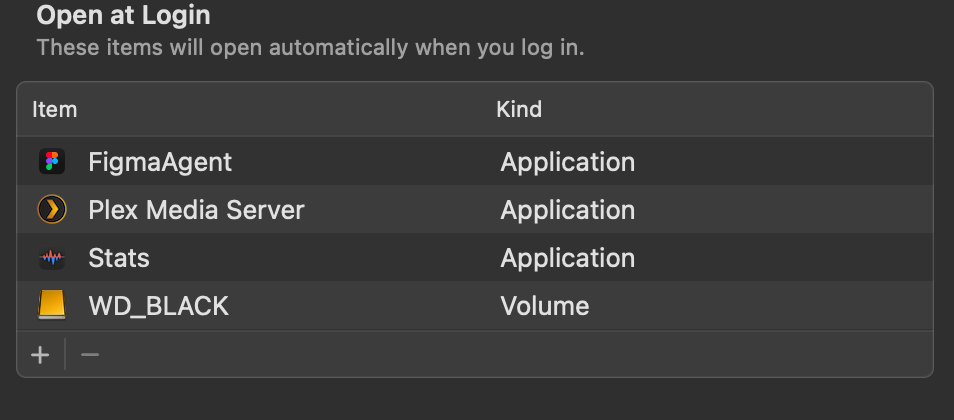
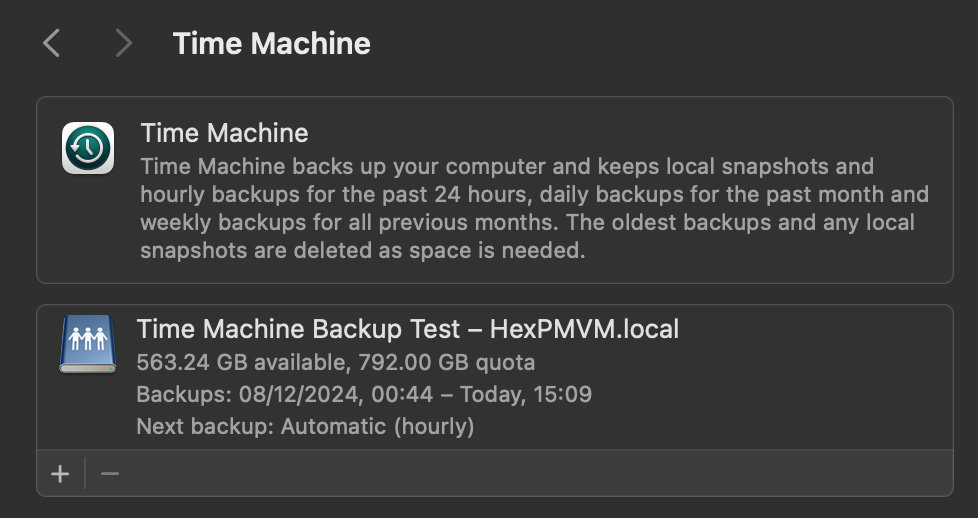
I know this is a request for a more 'One click' Hex TM integration, but incase people wanted to test this now, you can do this in Hex + TN today. (already had mine running a week without issue. TIME MACHINE INSTALL GUIDE Create a Folder & name it time machine (or a custom name) Set the Folder permissions (I left mine open, add user permissions here to restricted access) Navigate to the TrueNas UI (Server IP > Username: truenas_admin Pasword: server password from install) Navigate to the Shares tab, you should see your newly created share. Click on edit (pencil) On the Purpose drop down change to > Basic or multi user time machine. Press save/apply, and it'll prompt a restart of the SMB process. Go to your mac settings > general > Time machine. Click the + icon and locate your time machine share, then click setup disk. FYI if you aren't already connected to your Hex server, you'd need to do so now. Either search for the server in the network tab of finder OR connect to the server with finder > go > connect to server > SMB://[THE IP OF YOUR HEX SERVER] You can now choose to encrypt your backup with a password + if you choose, restrict the total disk usage the backup will have. You should now see your time machine backup setup. This will start automatically, but you can create a back up straight away if you choose. AUTO CONNECT SHARED DRIVE SETUP Now that could be it, but to ensure your Time machine backup will always occur, you need to ensure your Mac is always connected to your Hex server. to do this, we need to add the share to the login items Open Settings > general > Login items > click the + icon Locate your connected time machine share, then click open. You should now see the drive in the login items. That's it, you should be all setup and running.
1 point
-
Sorry, if this has been asked before & posted elsewhere. Would be handy to have app support for steam caching, especially for big/medium family's/house hold share. I can understand this will not be on the radar as yet, while sorting other issues out/beta etc1 point